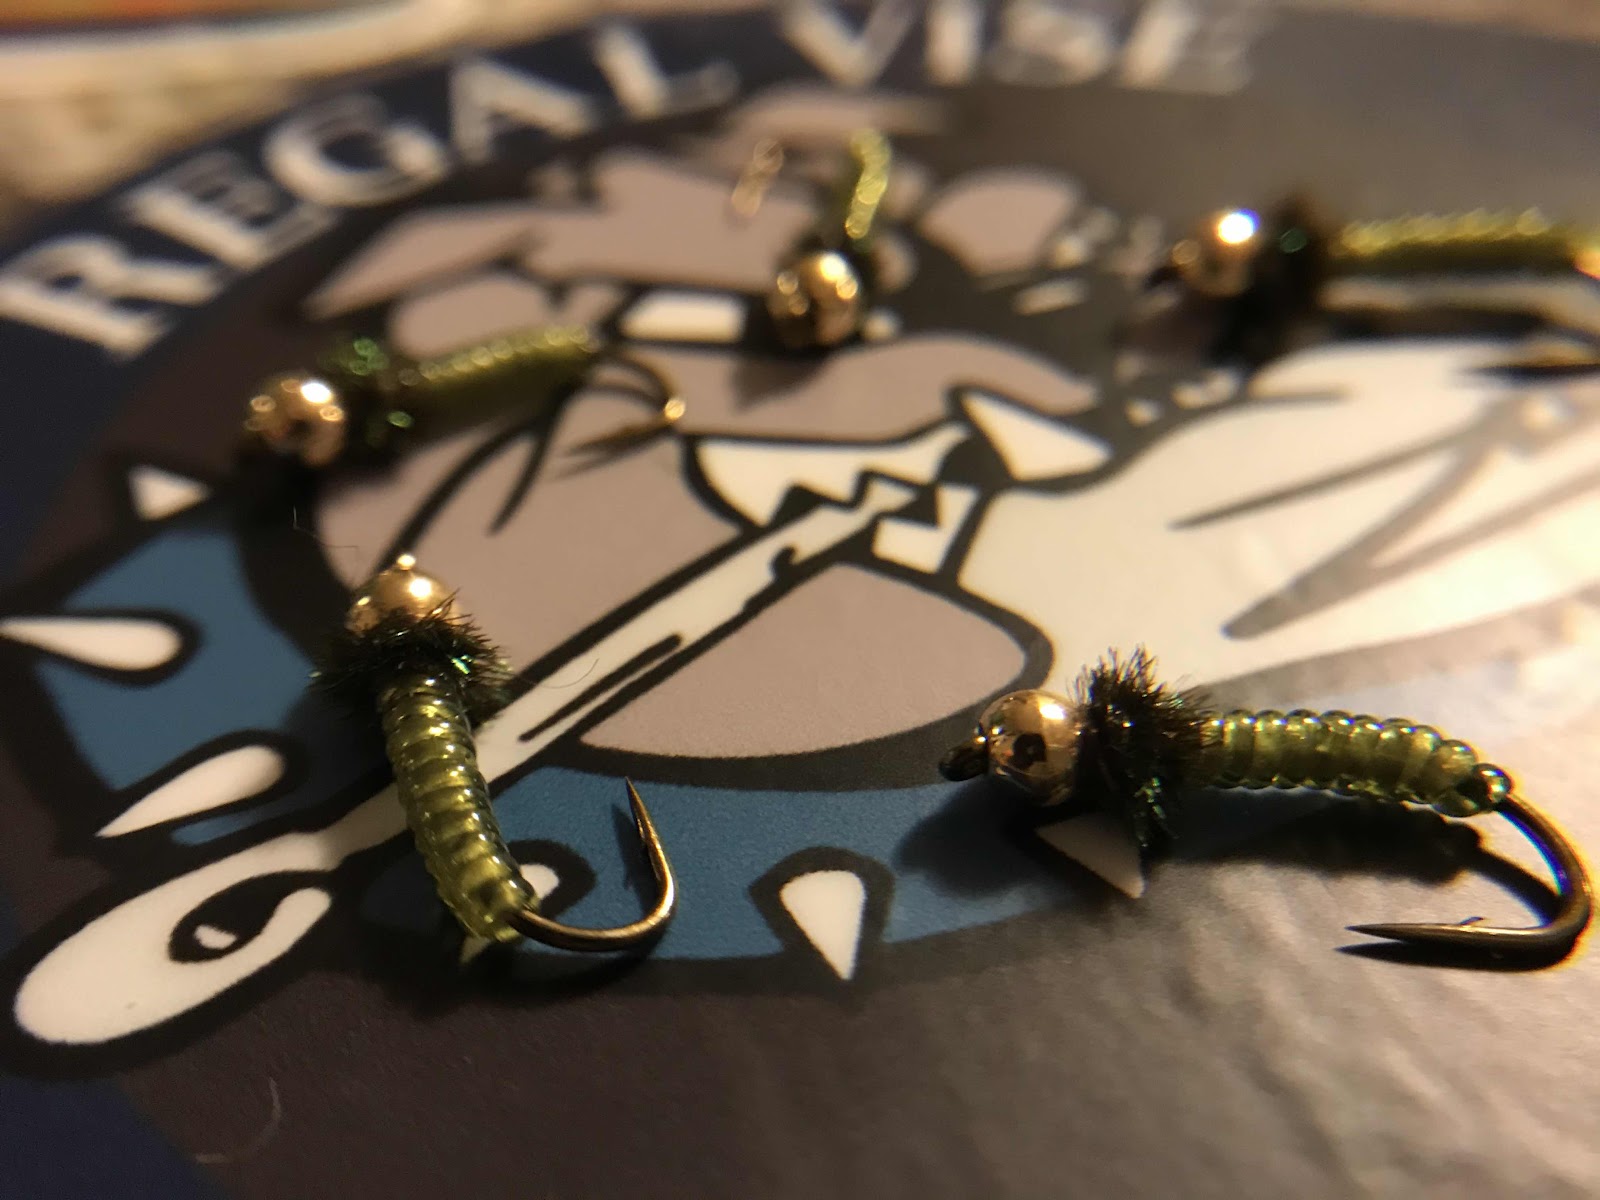
It’s hard to find a more important insect in fresh water entomology than the caddis fly. Hundreds of different species occupy the streams, rivers, and lakes in North America alone. All stages of the caddis fly are targets for freshwater fish. Just about every species of fish will eat a caddis fly at some point in it’s life. I’ve even caught a chain pickerel, a member of the esox family that includes musky, on a peeping caddis (this pattern will be showcased in a later article). Simply put you want to have various caddis patterns in your fly box, or an entire box focused on the caddis fly life cycle.
I reside in an area with more trout streams than warm water habitats so much of my early tying was focused on trout. One of the first flies that I really nailed in my youth of fly tying was the caddis larva. It’s a very simple pattern that you can never have too many of. I could tie this fly consistently and by simply changing the underbody thread, bead color, or hook I would have a completely different looking fly. Since caddis larva make up a large portion of a trouts diet, it was a no brainer to learn to mimic this stage of a caddis flies life cycle. I could flip over any rock in a cold water stream in my area and find a caddis larva of something sort. I will be going over some of my other caddis patterns in later blog posts but let’s walk before we run.
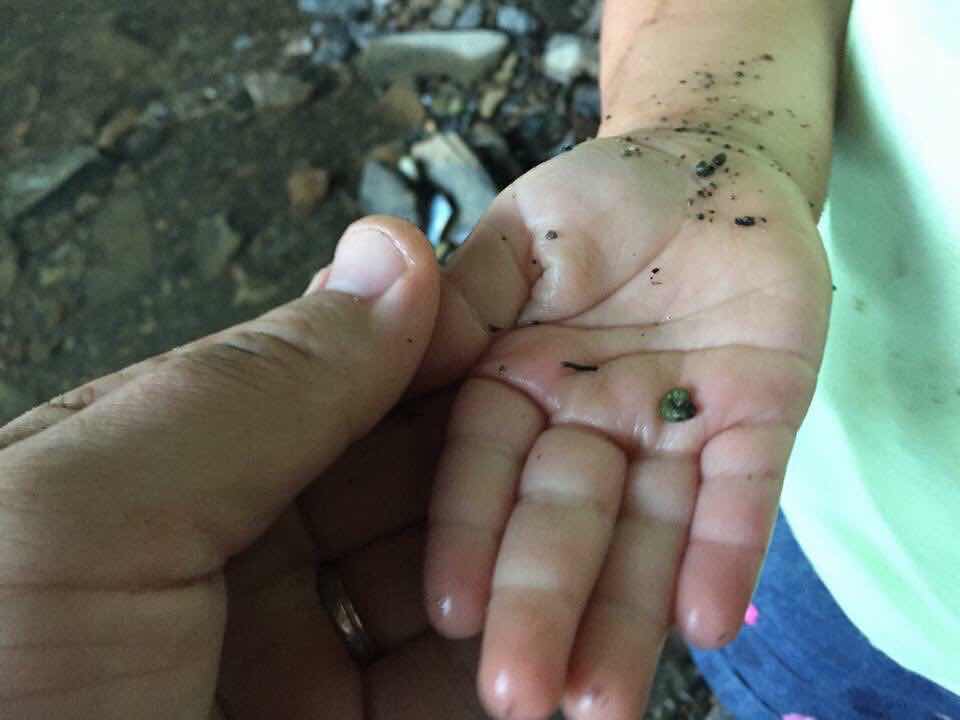
I will be doing this tutorial using a straight shank hook as they are a hook I feel any beginning fly tyer would have. I tie caddis larva patterns on both straight and curved scud style hooks. Under the water caddis larva will often appear to have a “J” shape to them while drifting in the current if they are freed from under a rock. This is where the scud hook comes in handy. Also the wider gap of a scud helps with hook sets. The materials used in this pattern allows the fly to sink quickly and get into the strike zone fast. This is very important when nymphing.
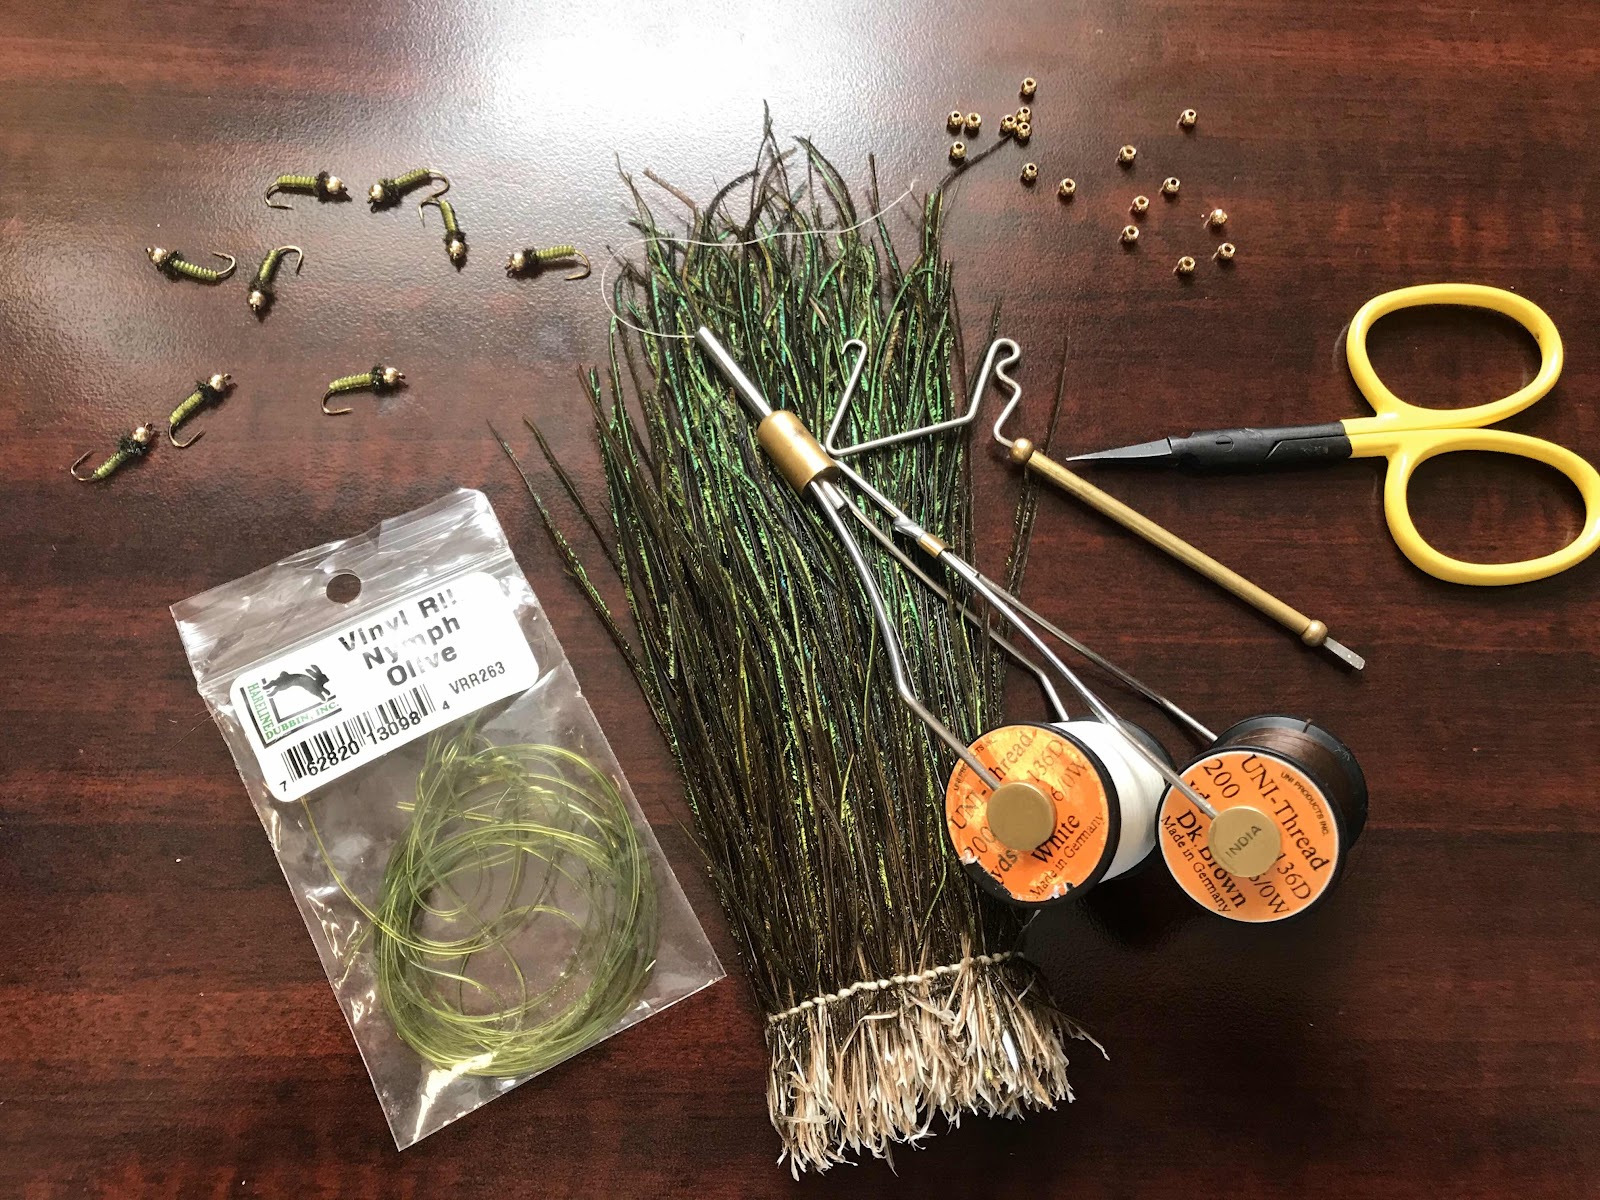
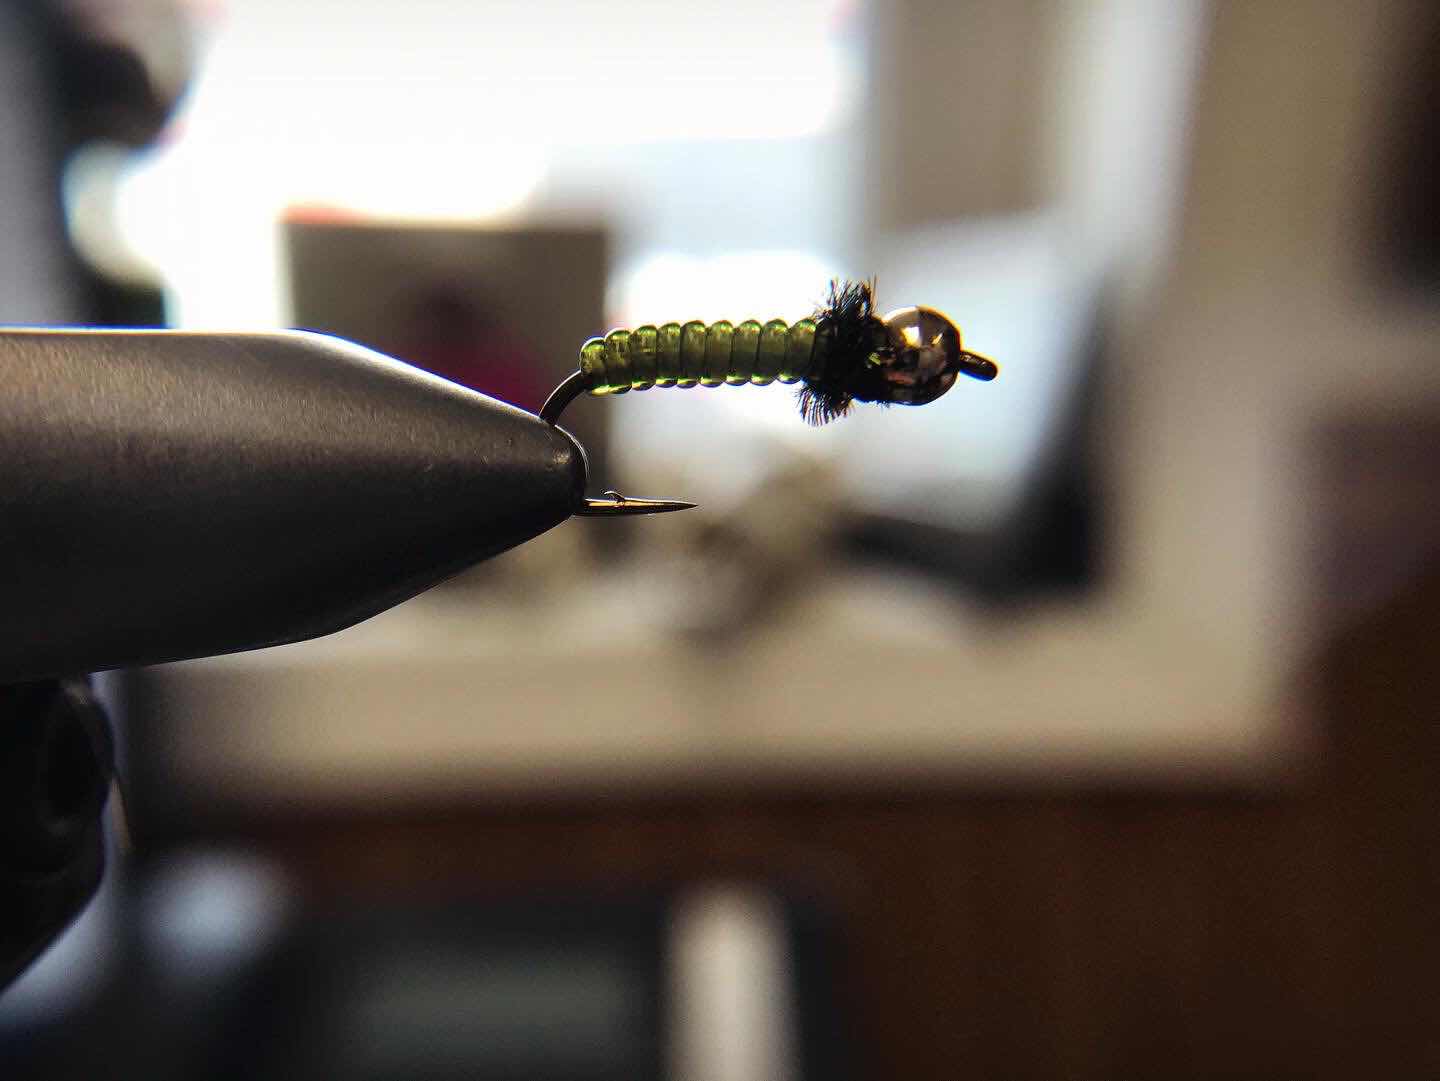
You don’t need a lot of materials for tying this pattern. You can tie it from size 18-10 without many issues. I would recommend using size small vinyl ribbing in size 16–14, size nymph for size 14-12, and medium for anything larger than that. For beads I would suggest using a 2.4 mm bead for size 16-18, 2.8 or 3.0mm for size 12-14, and 3.3-3.8mm for anything larger. In my opinion the sweet spot for these flies in my area is a size 14. The recipe for this fly (AS SHOWN) is as follows:
HOOK: Size 12 Daiichi Standard Nymph Hook
BEAD: 2.8mm Gold Tungsten Bead
UNDERBODY THREAD: 6/0 white
VINYL RIBBING: Olive Vinyl Ribbing Size Nymph
FINISH THREAD: 6/0 Dark Brown
THORAX: (2) Peacock Herl Feathers
Let’s dive in and tie this easy but effective nymph.
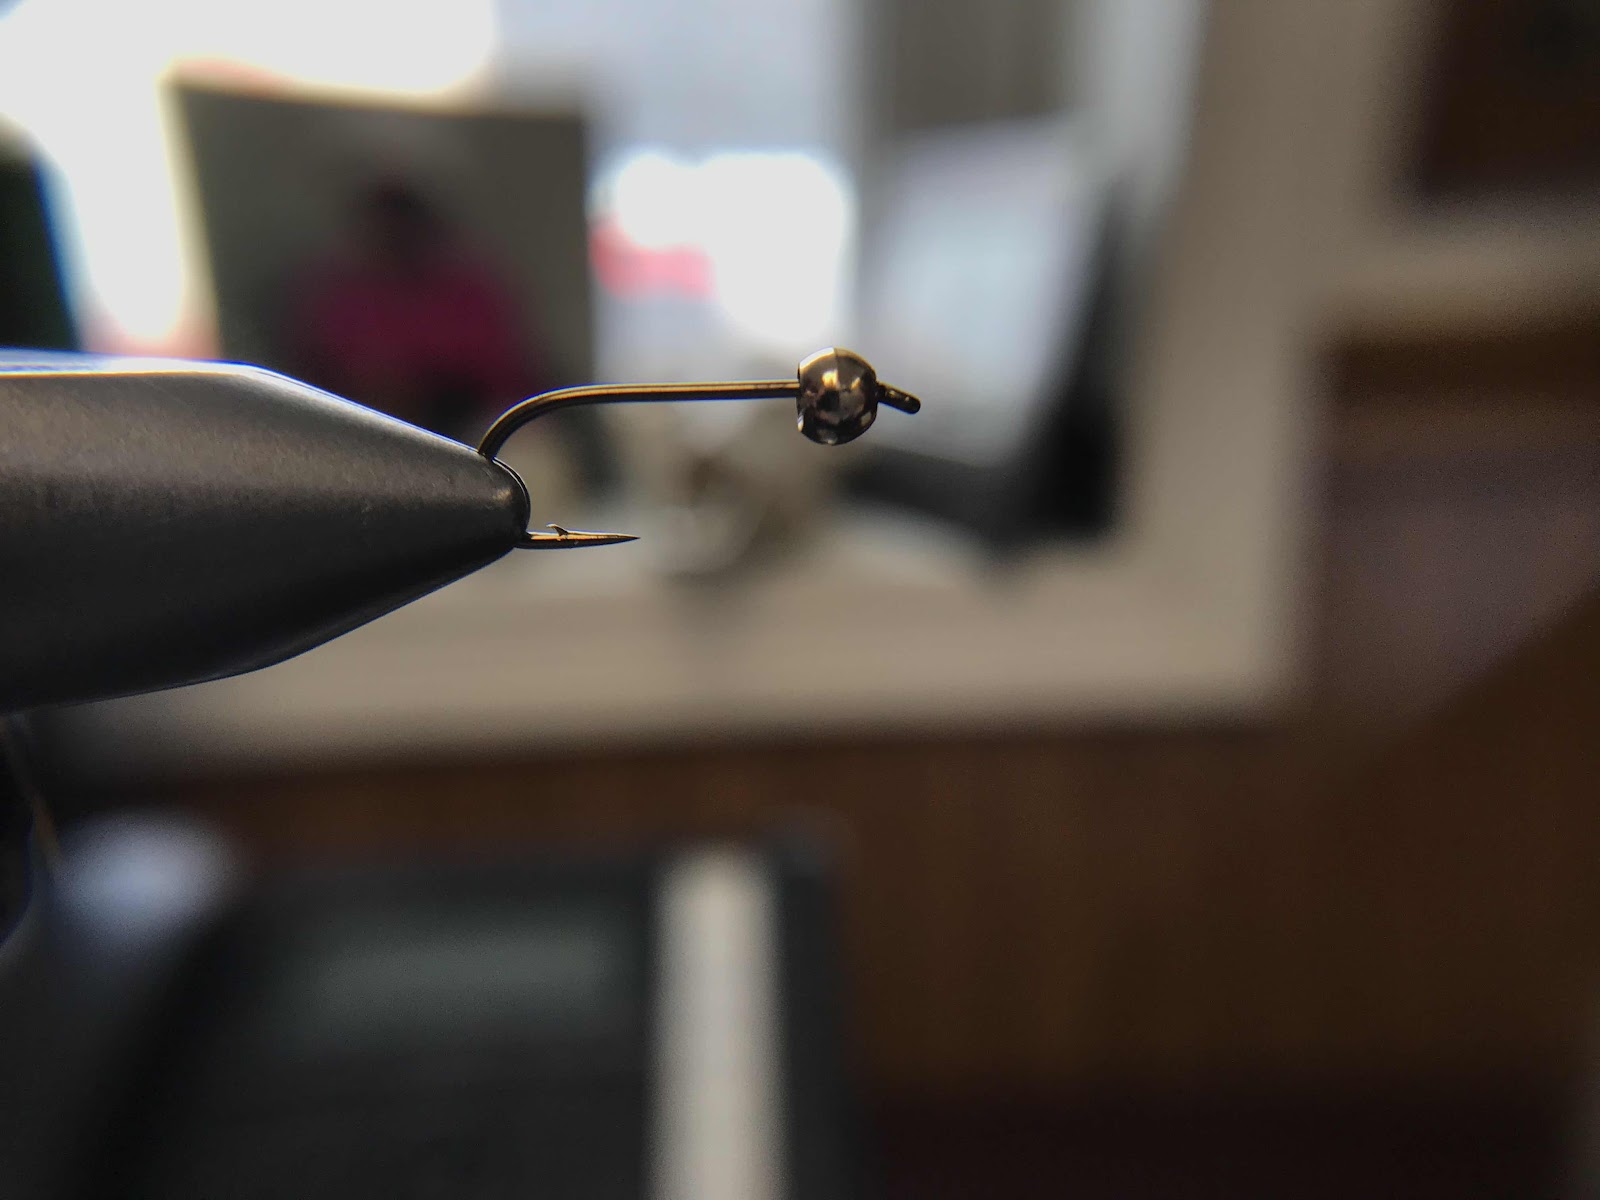
Step #1 Place the bead on the hook and clamp the hook in the vise.
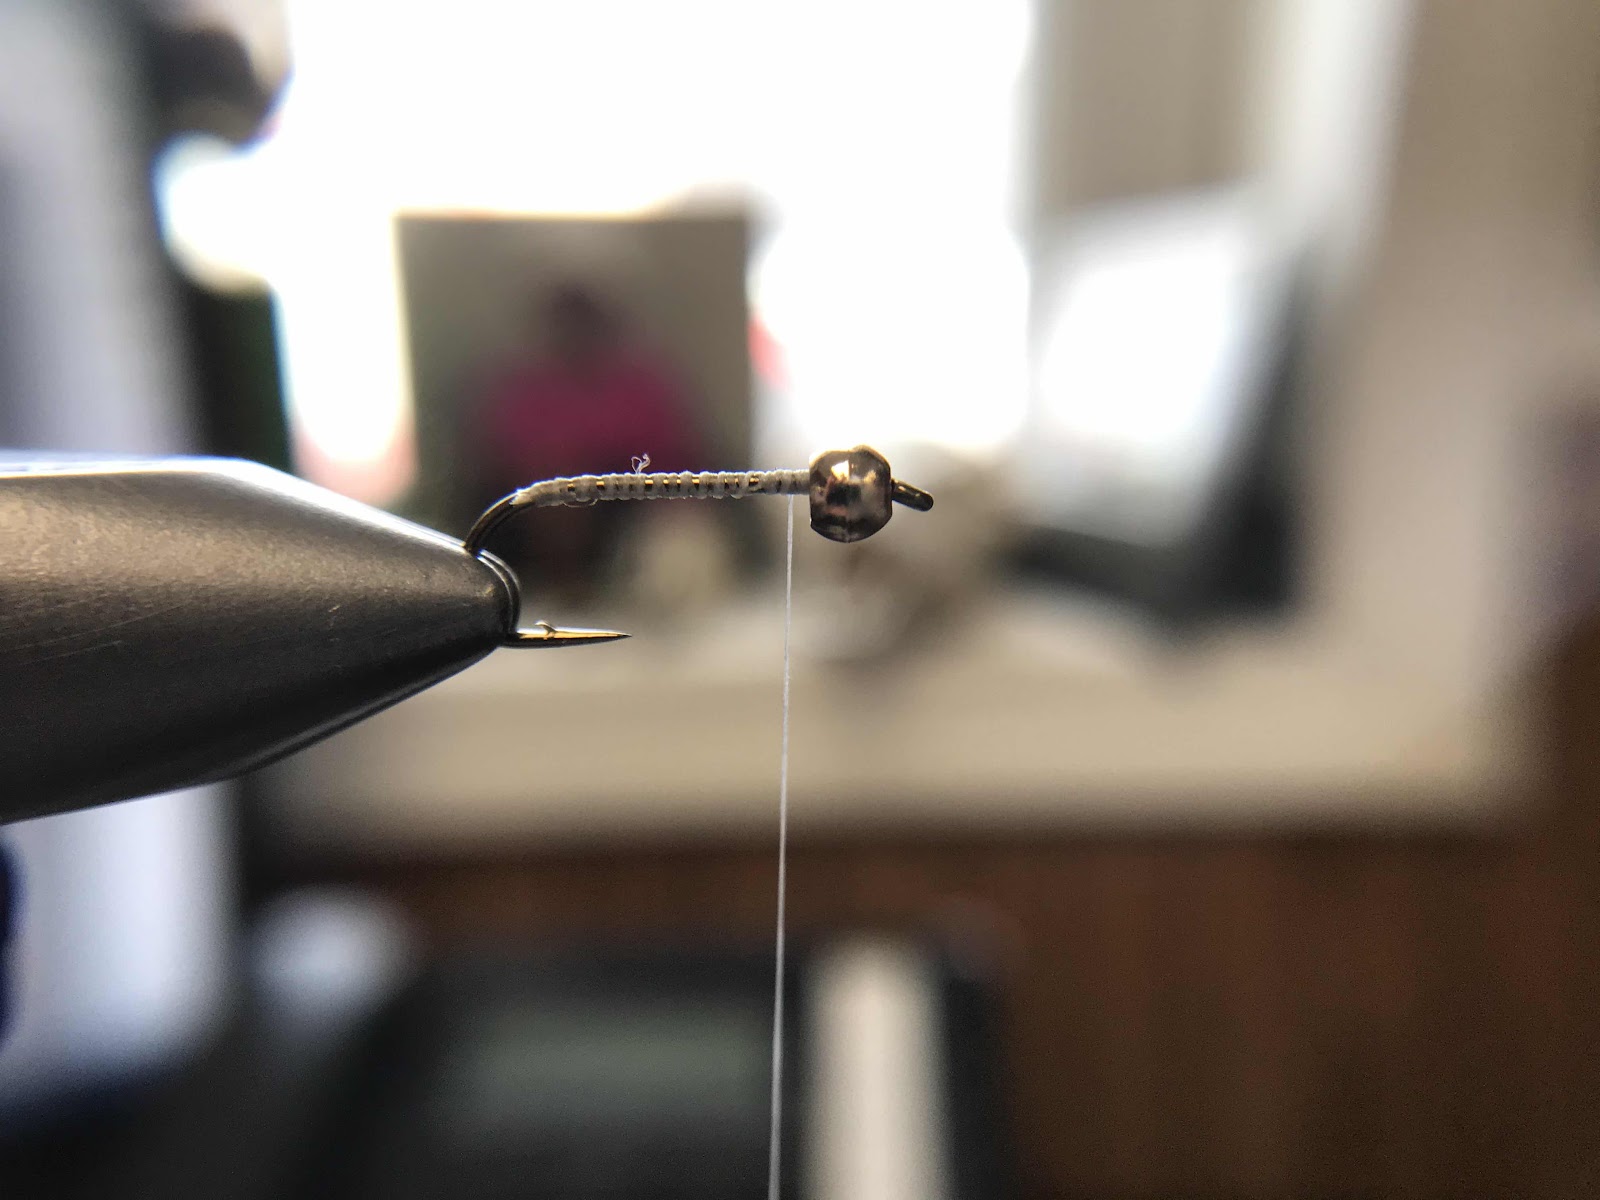
Step #2 Thread the hook with the 6/0 white thread all the way to the hook bend and bring it back to just behind the bead. This layer of thread will help prevent the vinyl ribbing from sliding on the shank of the hook.
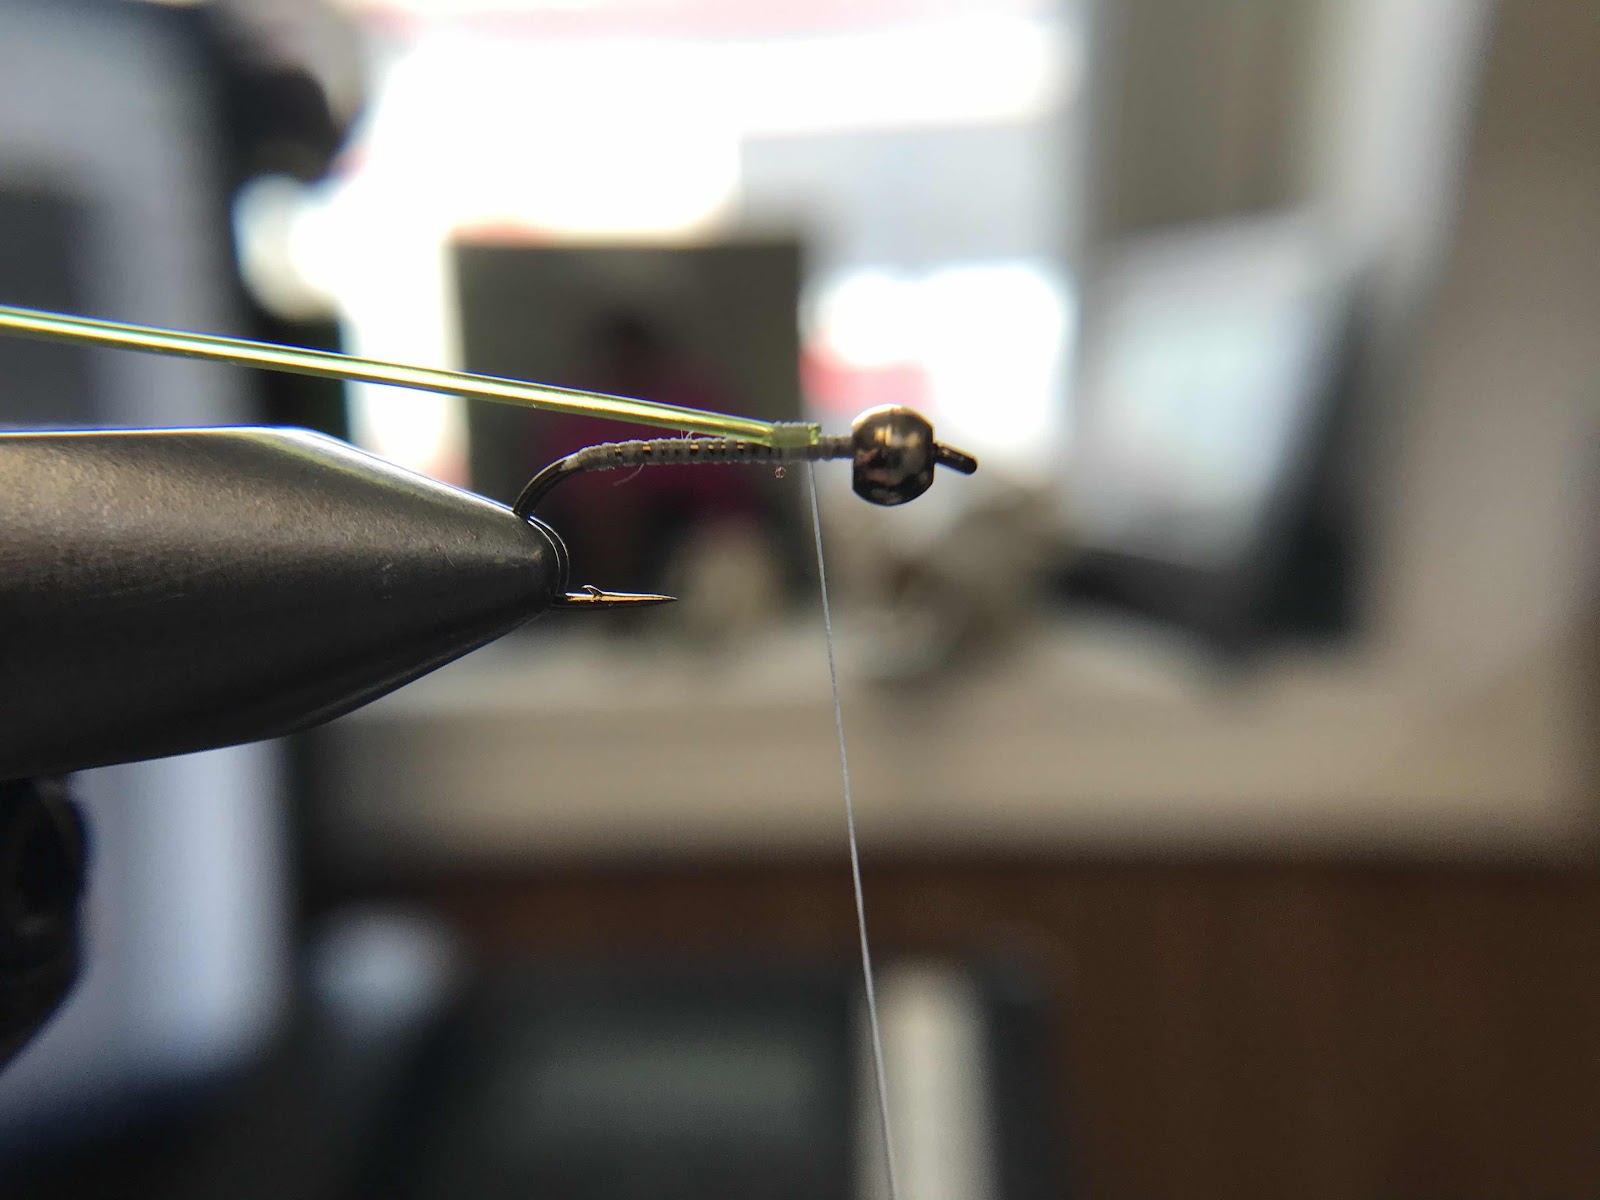
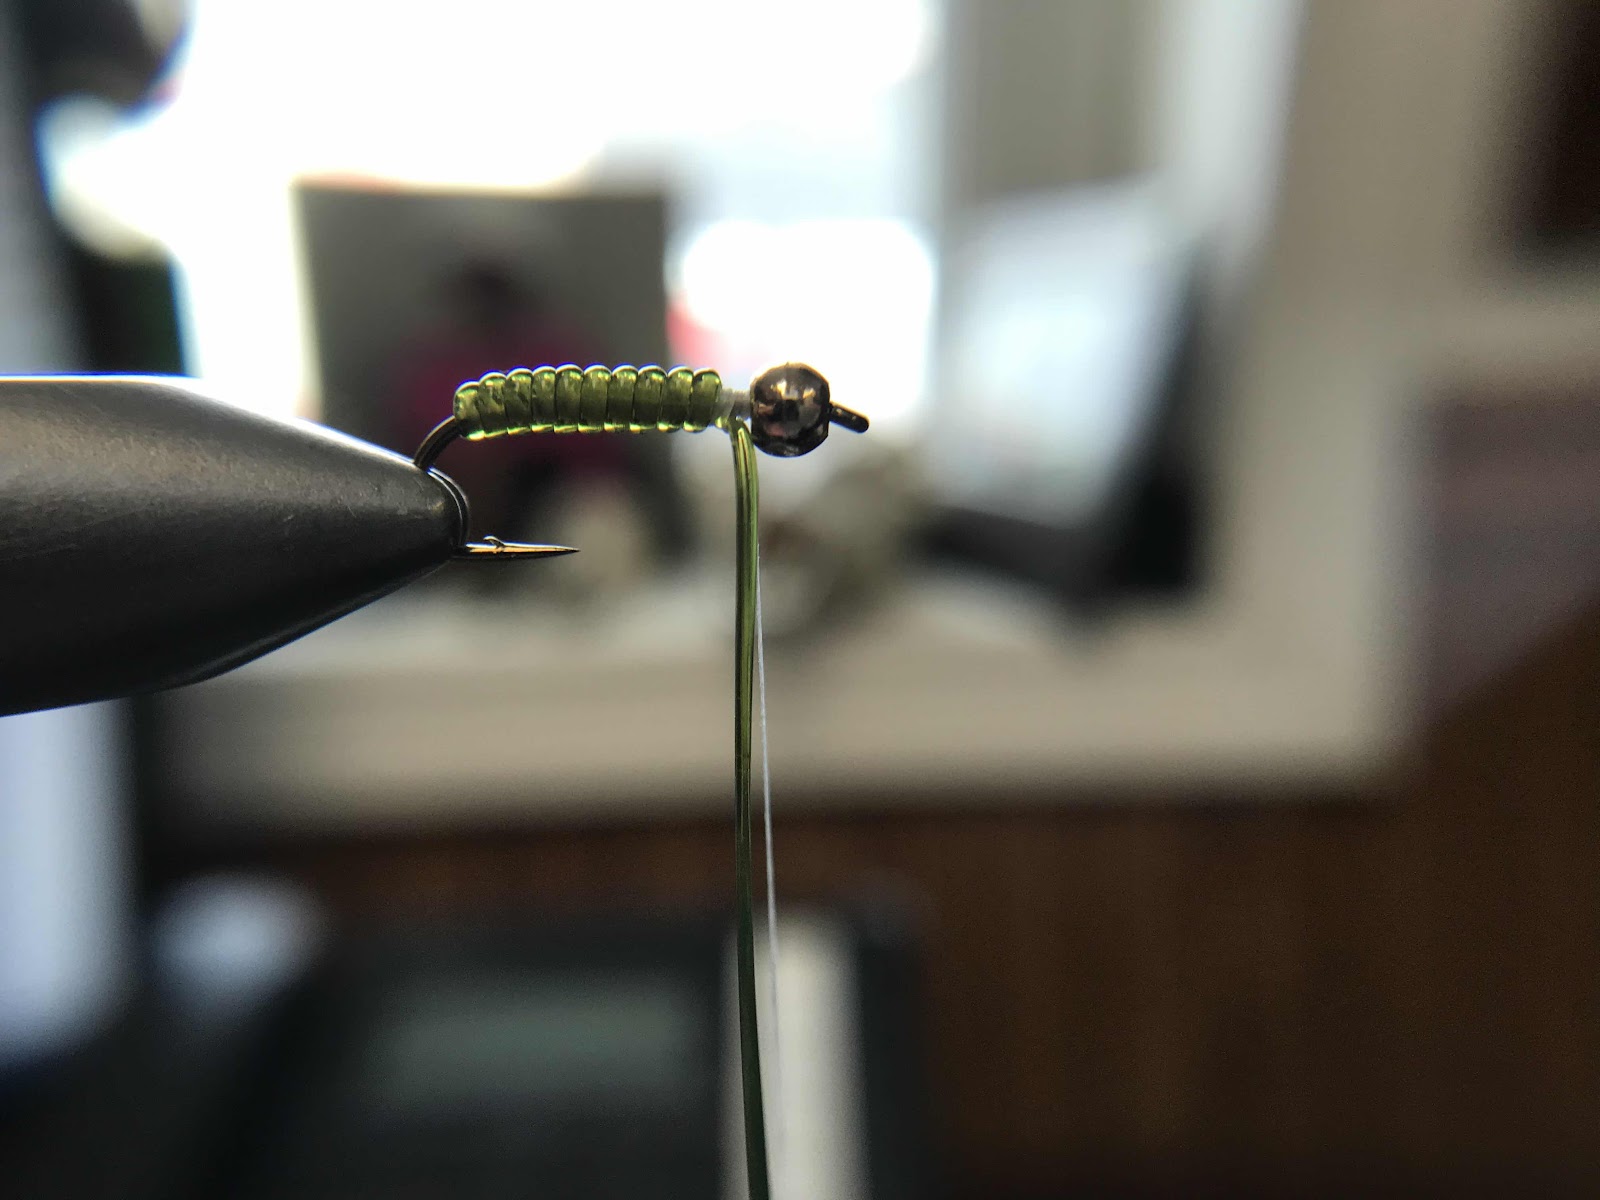
Step #3 Tie in the vinyl ribbing with a small gap behind the bead as shown. The gap is to leave room to tie in the thorax of the fly.
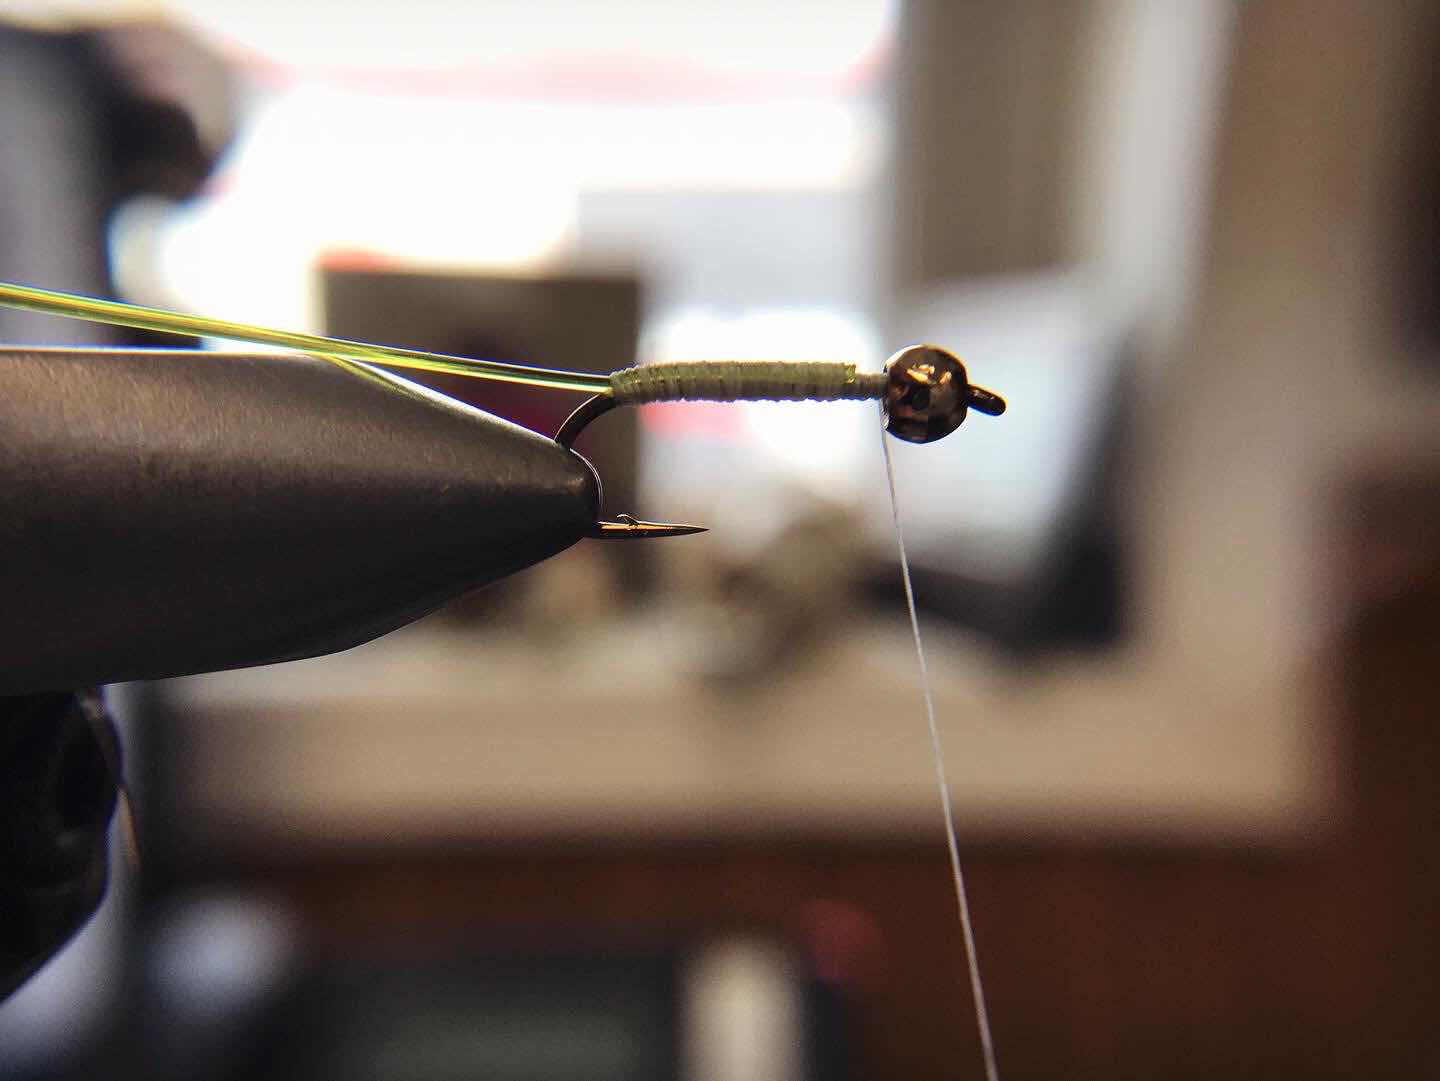
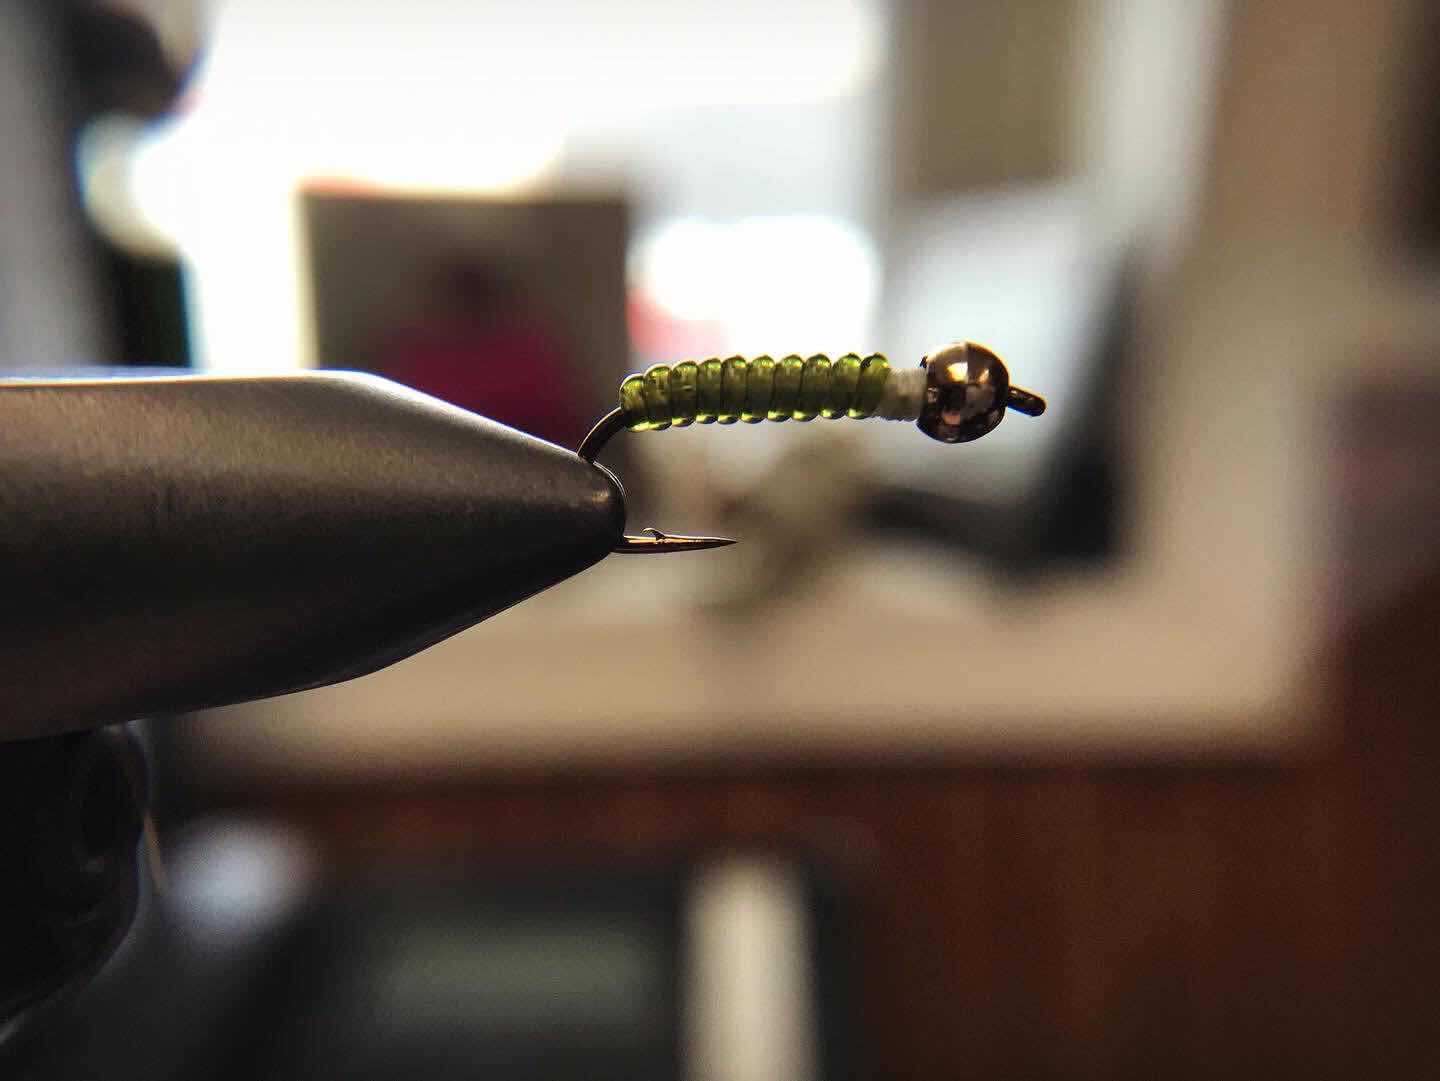
Step #4 Wrap the thread all the way to the hook bend and then back up to the end of the vinyl ribbing. Be sure to cover all of the vinyl ribbing with the white thread. By covering all of the vinyl ribbing with thread you will let the true olive green color of the vinyl ribbing show through. Changing the underbody thread color can really change the tone of the vinyl ribbing. I will discuss other choices at the end of the tutorial.
Step#5 Wrap the vinyl ribbing over itself stopping at the gap. Secure the ribbing tightly at the beginning of the gap.
Step#6 Whip finish the white thread. The body of the fly is now finished.
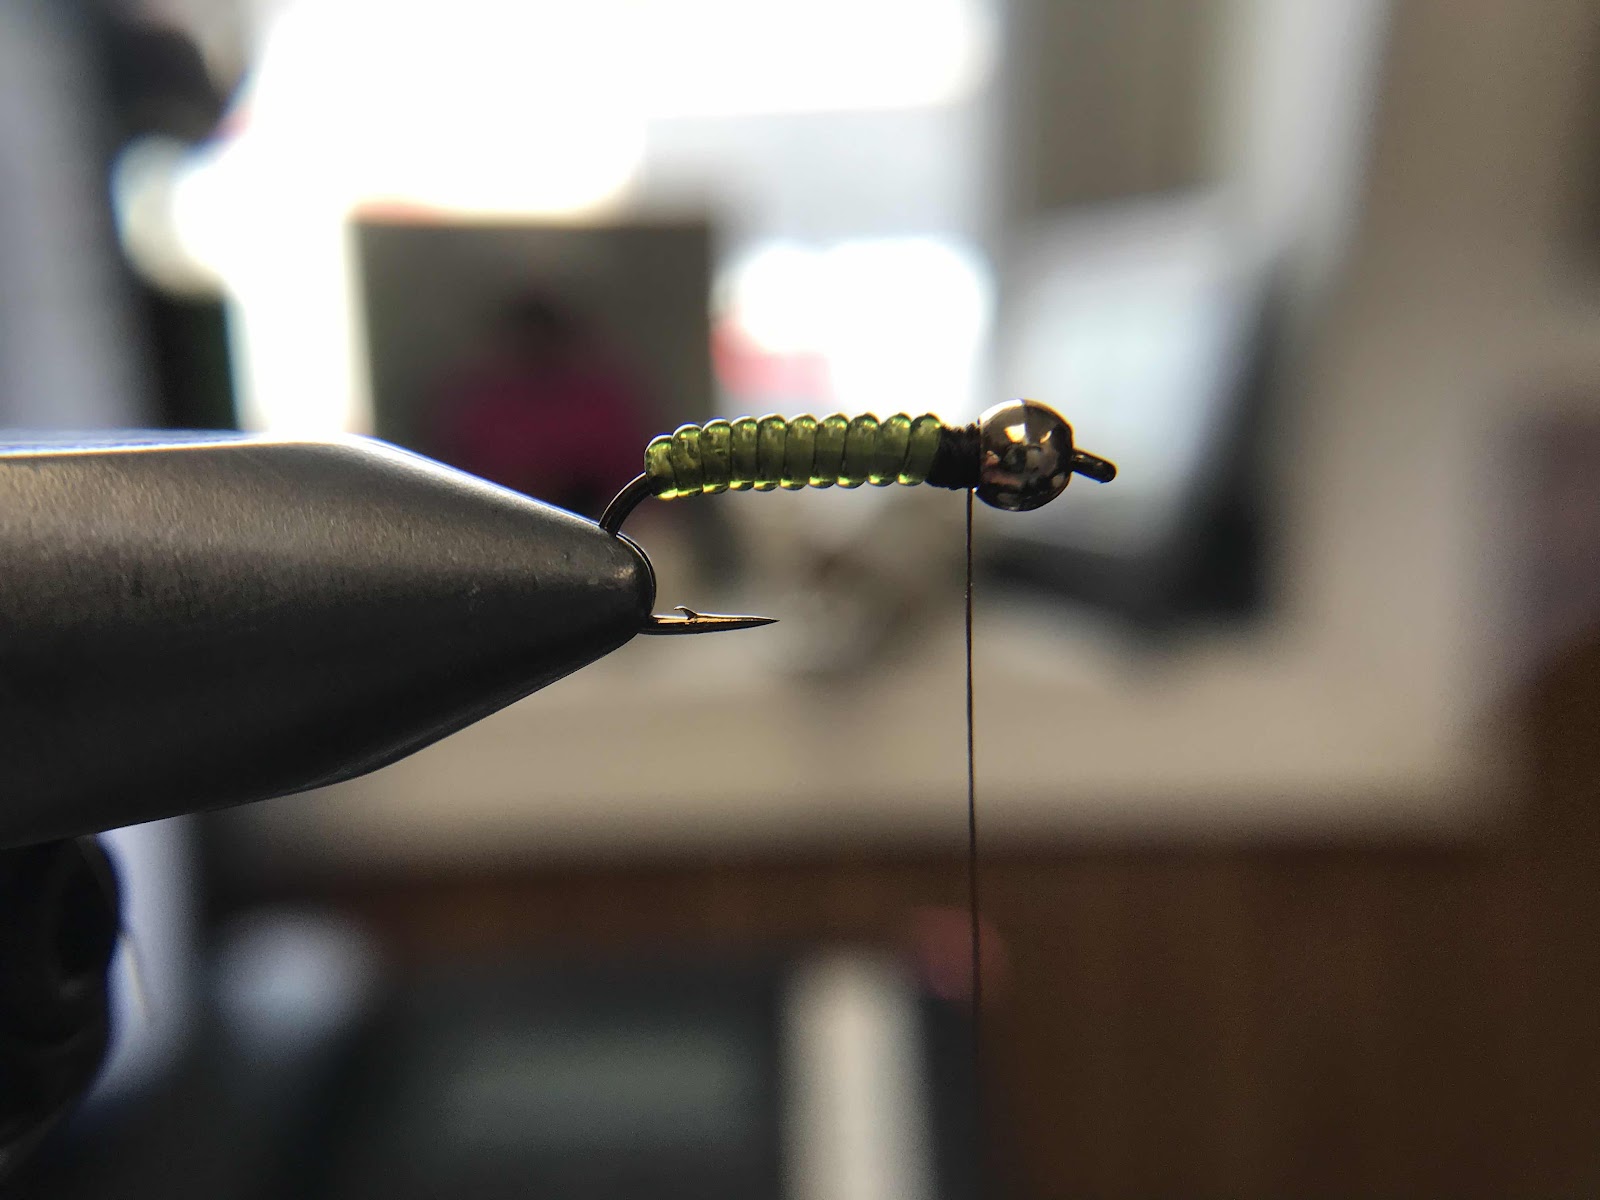
Step#7 Thread the thorax area with 6/0 dark brown thread.
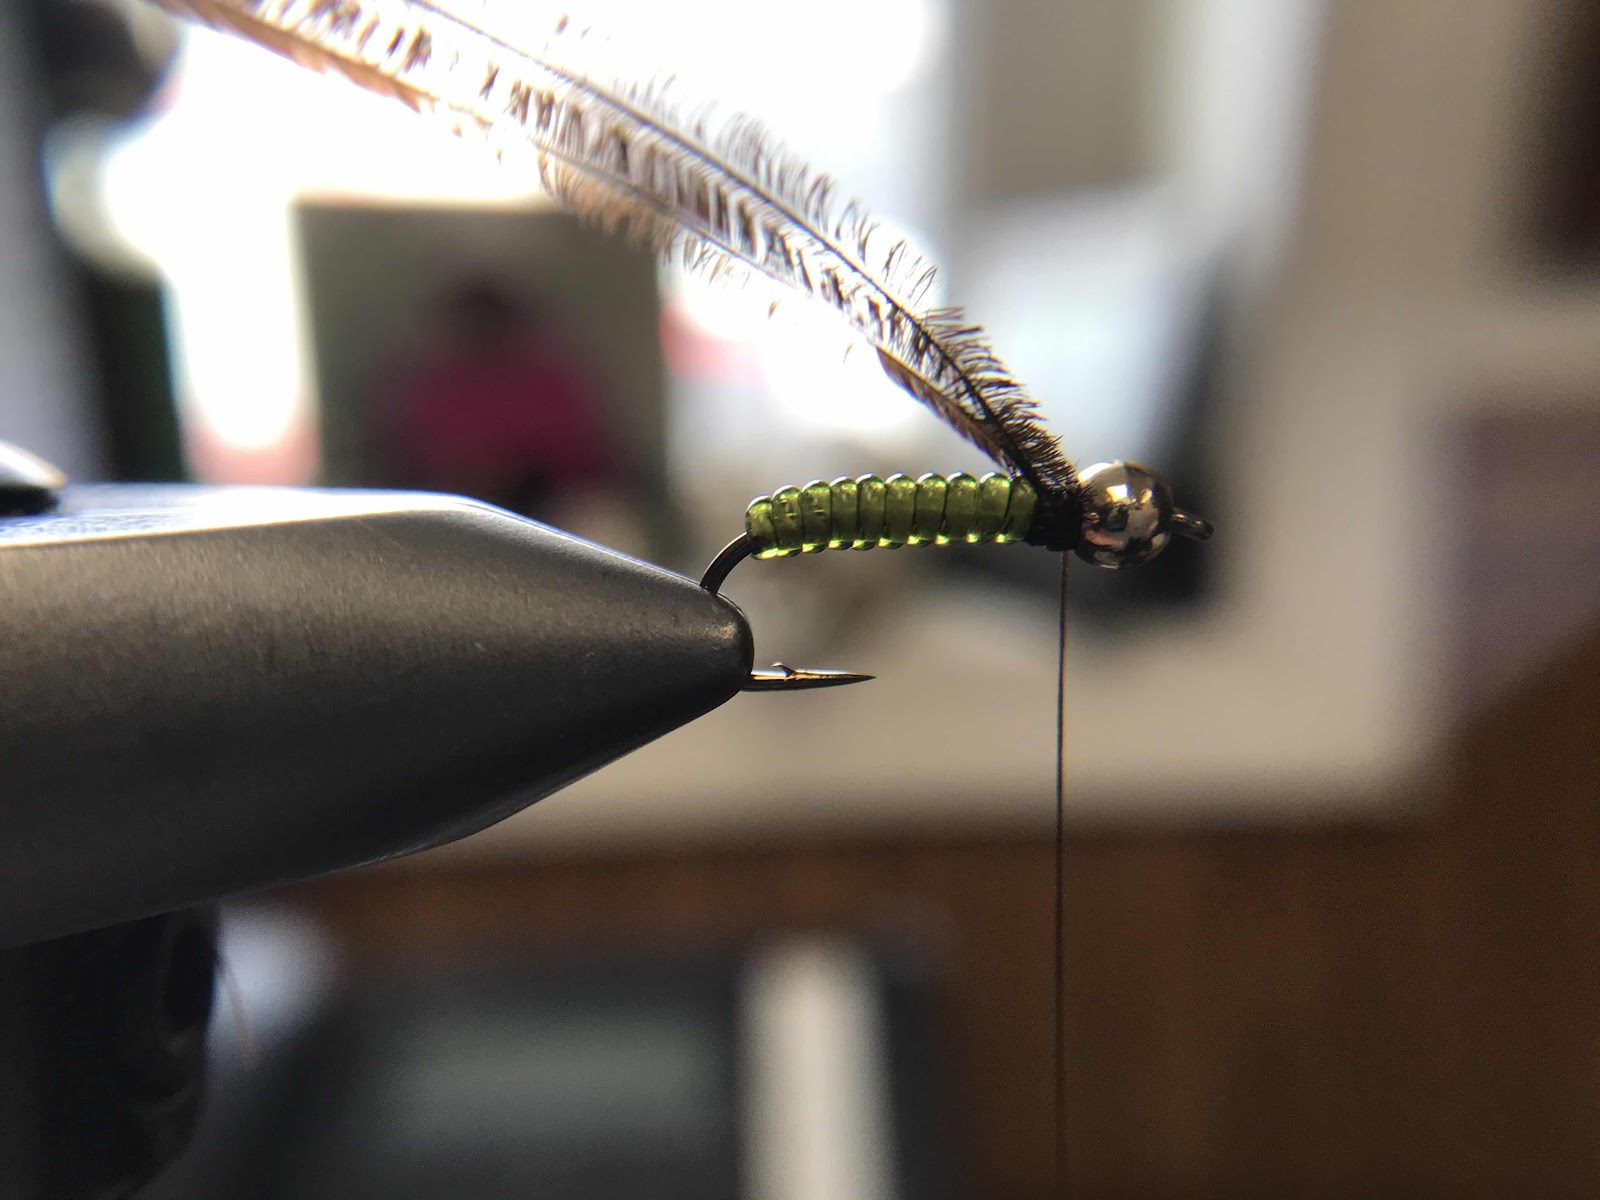
Step#8 Tie in and secure (2) peacock herl feathers. It is best to leave approximately 1/2” or so of tag. I do this because the quill of the feather is more durable further down the feather. If you tie the feather in where it is weak you will most likely break the quill while wrapping.

Step#9 Secure the peacock herl. I like to do a few wraps behind the herl feathers then pull them back and place two wraps in front of them. This will cause the thread to pinch down on the herl feathers and really secure them.
Step#10 Whip finish the fly and cut the thread. You may apply a small dab of head cement if desired.
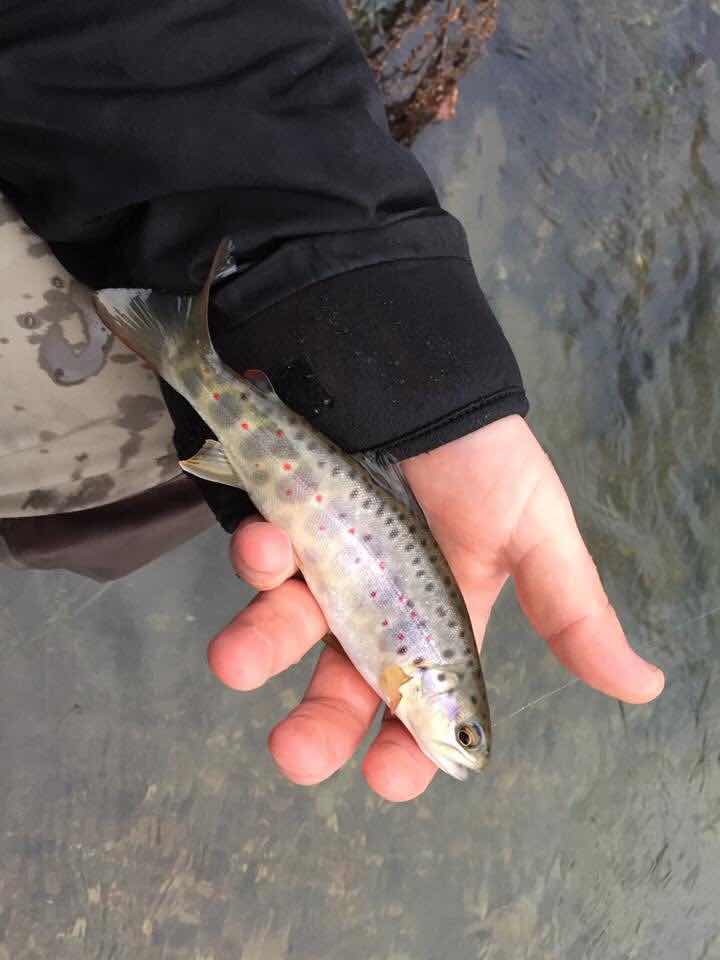
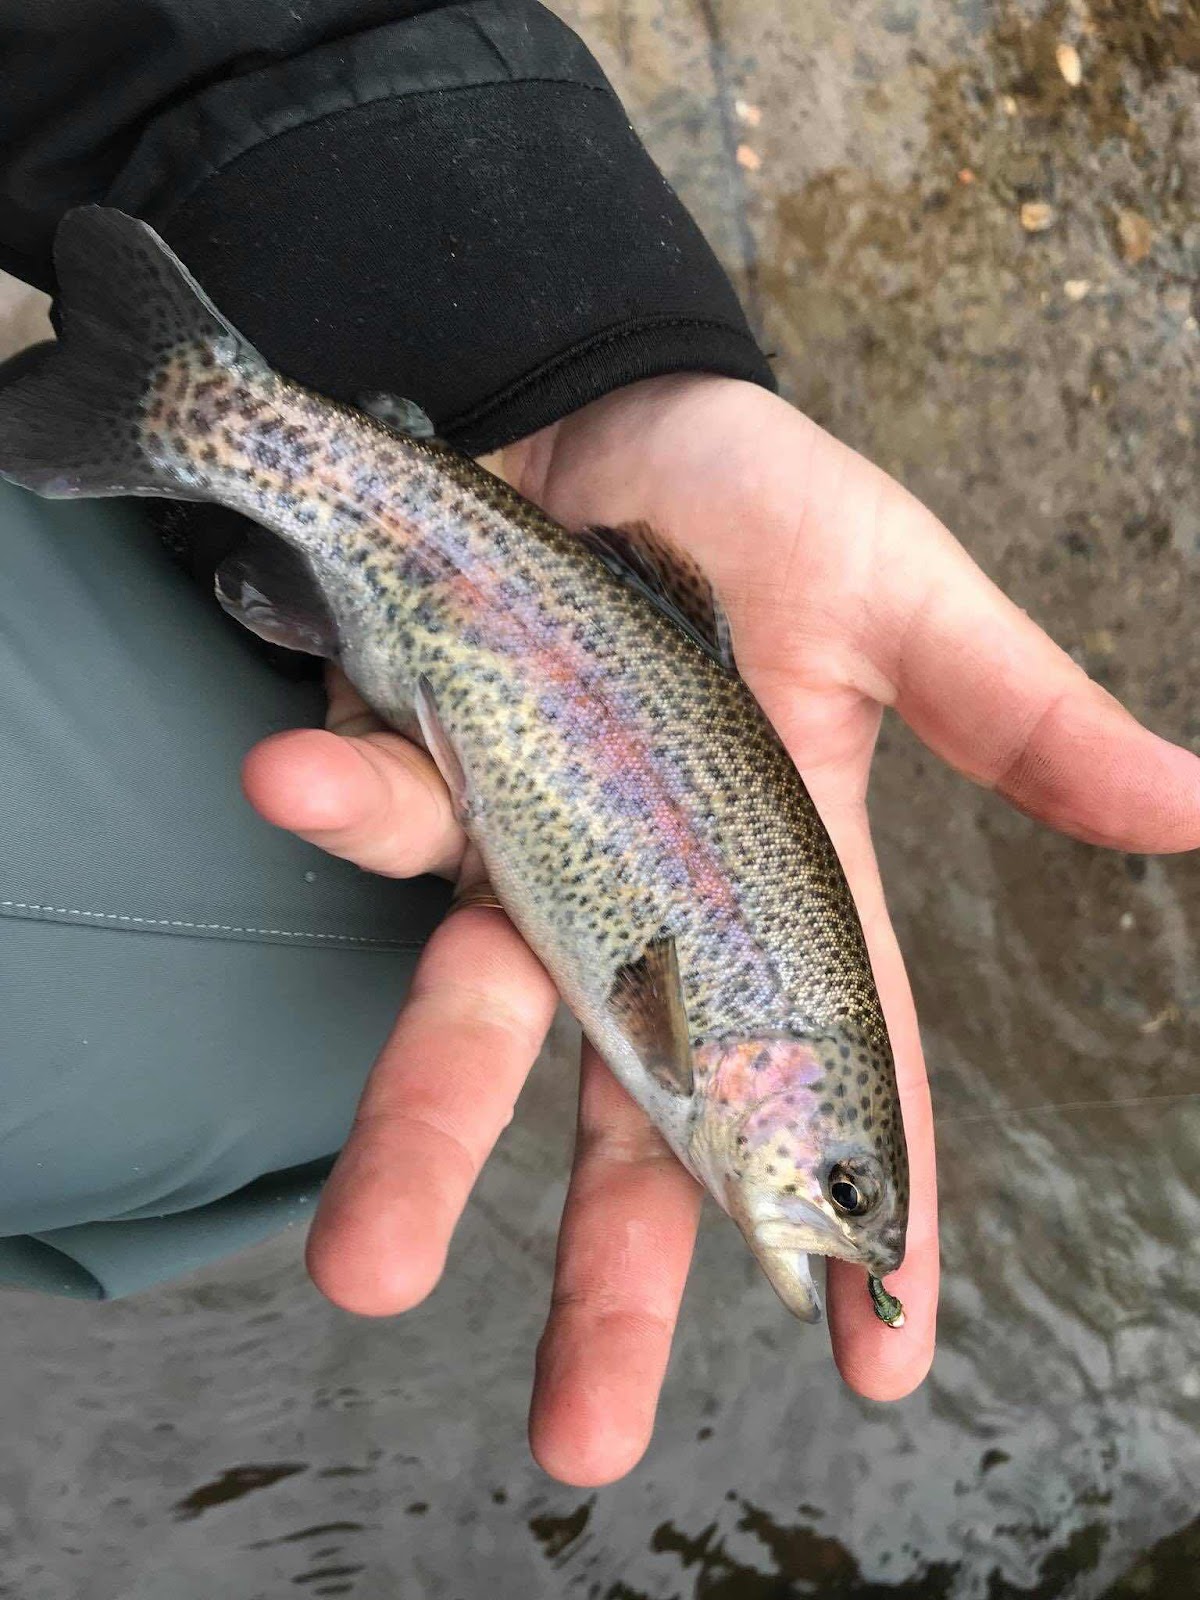
That’s it! That is all there is to this pattern. I’ve caught hundreds of trout as well as other species of freshwater fish on this pattern. This fly is what I would consider a confidence fly. It is simple for the beginning tyer to create and catch fish on, but will also have a home in your fly box for years to come. The fast sinking nature of the fly combined with availability of caddis larva in streams make this pattern a must have in your fly box.
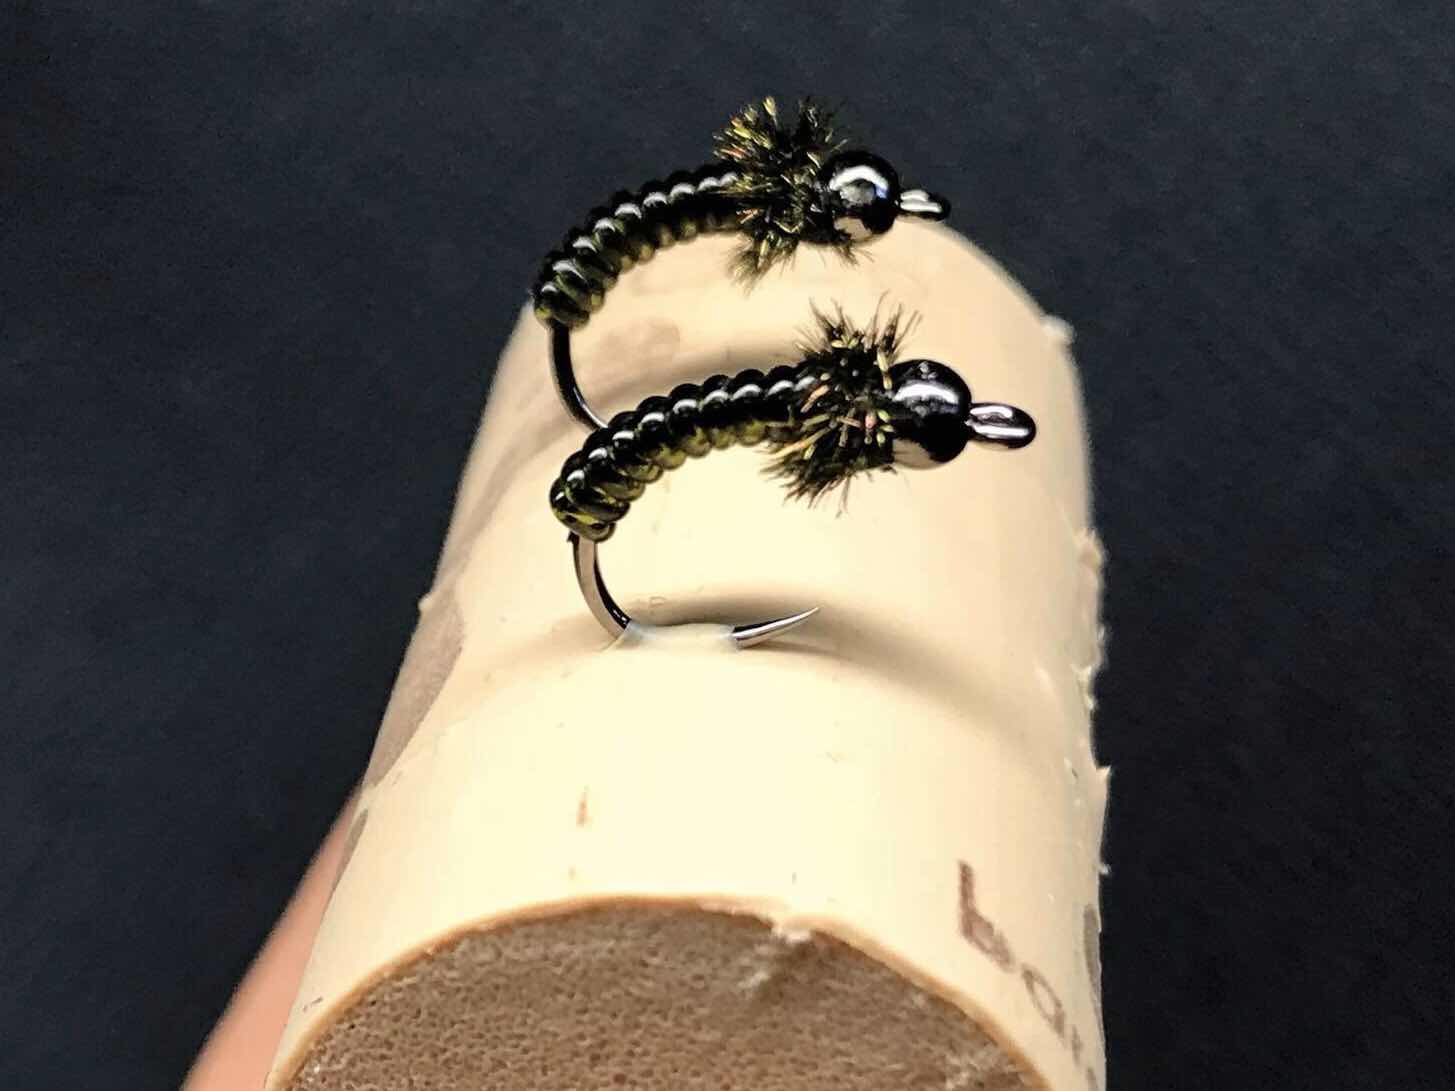
You can modify this pattern very easily as well. Popular ways I switch up this pattern is by switching the underbody thread color. Light tan, orange, and chartreuse are all colors I have had success with. One great aspect of using a bright color is that you won’t have to swap threads after completing the body and you get the attraction of a hotspot. I like to tie this pattern with a gold or copper bead as I like offsetting colors on my nymphs. For a more natural look use a black or brown bead. The last way that I modify this pattern is by using dubbing for the thorax in place of the peacock herl. I like to use peacock because it sinks fast and doesn’t cause a lot of drag on the fly.
In closing I feel that you can’t go wrong with this pattern. If you enjoyed this tutorial please leave a comment. If you have any requests for other patterns that I tie please leave a comment and let me know what patterns you like to see.
This is one of the easiest flys to tie and a constant fish catcher. I always have this color and different thread colors in my go to box. You can't go wrong with this pattern!!!
ReplyDeleteThe Ultimate Casino Site | LuckyClub
ReplyDeleteLuckyclub brings you luckyclub a wealth of games, from blackjack, roulette to video poker and video poker to baccarat and blackjack. With over 100 titles from the world's largest