Tuesday, January 28, 2020

Building Your Foundation in Fly Tying


Let's hop back to the early 2000's when my uncle bought me a fly tying kit. When I first laid my hands on my that fly tying vise I envisioned tying beautiful dry flies and and nymphs. These flies in my mind had perfect proportions with zero flaws. I remember my uncle had me pick a fly from a Cabela's catalog and I watched him look at the pattern for a few seconds, dig into his materials, and proceed to tie the pattern exactly as it looked in the catalog.  This should be easy, right?

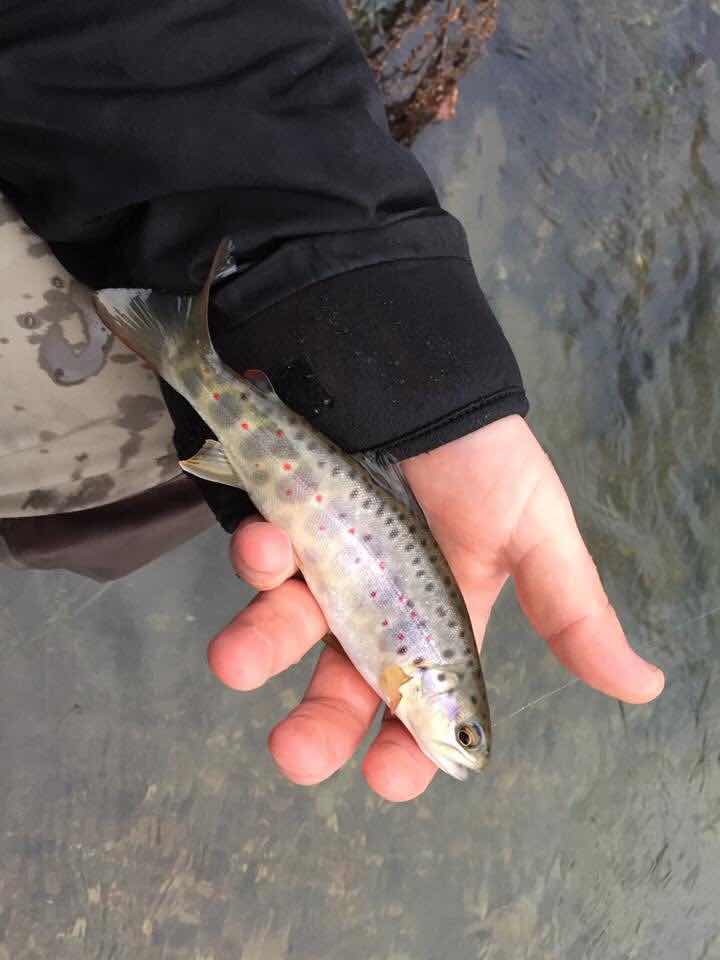
This is a throwback photo from my early years of tying.
I went home and sat down at my parents dinner table.  I opened the Cabela's catalog, and picked out a pheasant tail nymph. After 10 hideous looking creations of one of the most fundamental nymph patterns every created, I did what most beginning fly tyers do; I picked another pattern to try. I picked a hare’s ear nymph. Every article I had read at the time said this was a must have in your fly box. Again, I butchered 10 hare’s ear nymphs and then decided I would "freestyle" some of my own flies.  I soon realized that fly tying was not as easy as my uncle made it look.

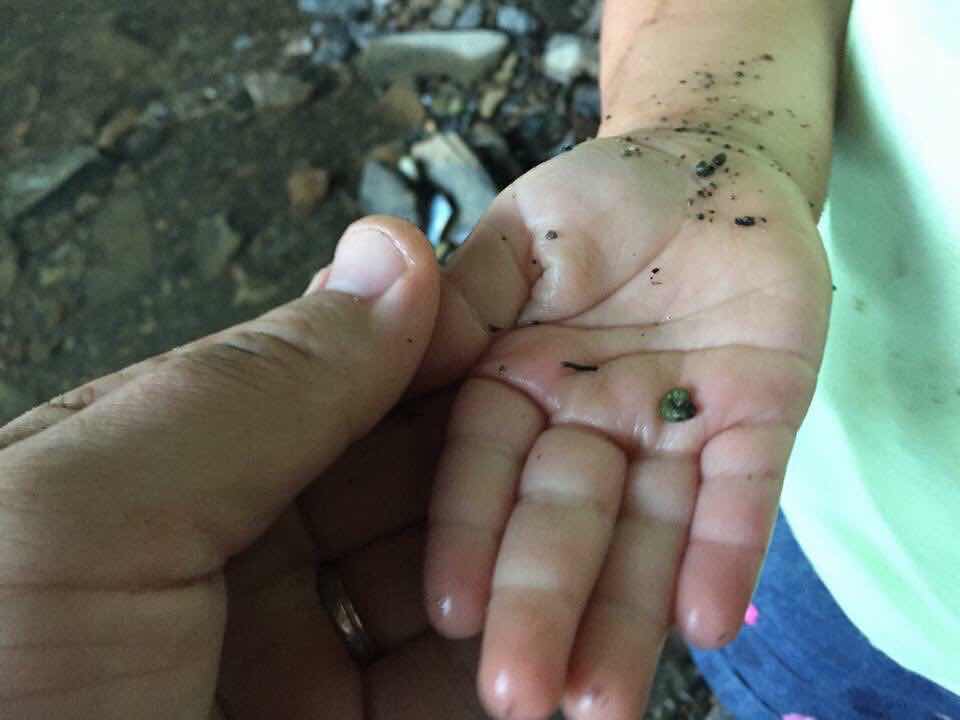
Just an example of what a new tyers "Freestyle" fly may look like
Does this sound like you? Have you tried a few patterns that you saw posted on a forum or Facebook group only to fall flat on your face with the end result?  If you were to ask nine out of ten experienced fly tyers about their first few months of tying, I would imagine that their beginnings would be similar to my scenario I mentioned above.

I feel that this is the biggest mistakes that new fly tyers make. They get so excited to tie flies and want to run before they can walk.  They skip the basic fundamental processes in fly tying.  I only wish that I would have focused on these fundamentals first before proceeding to waste hours at the vise, and a lot of materials.

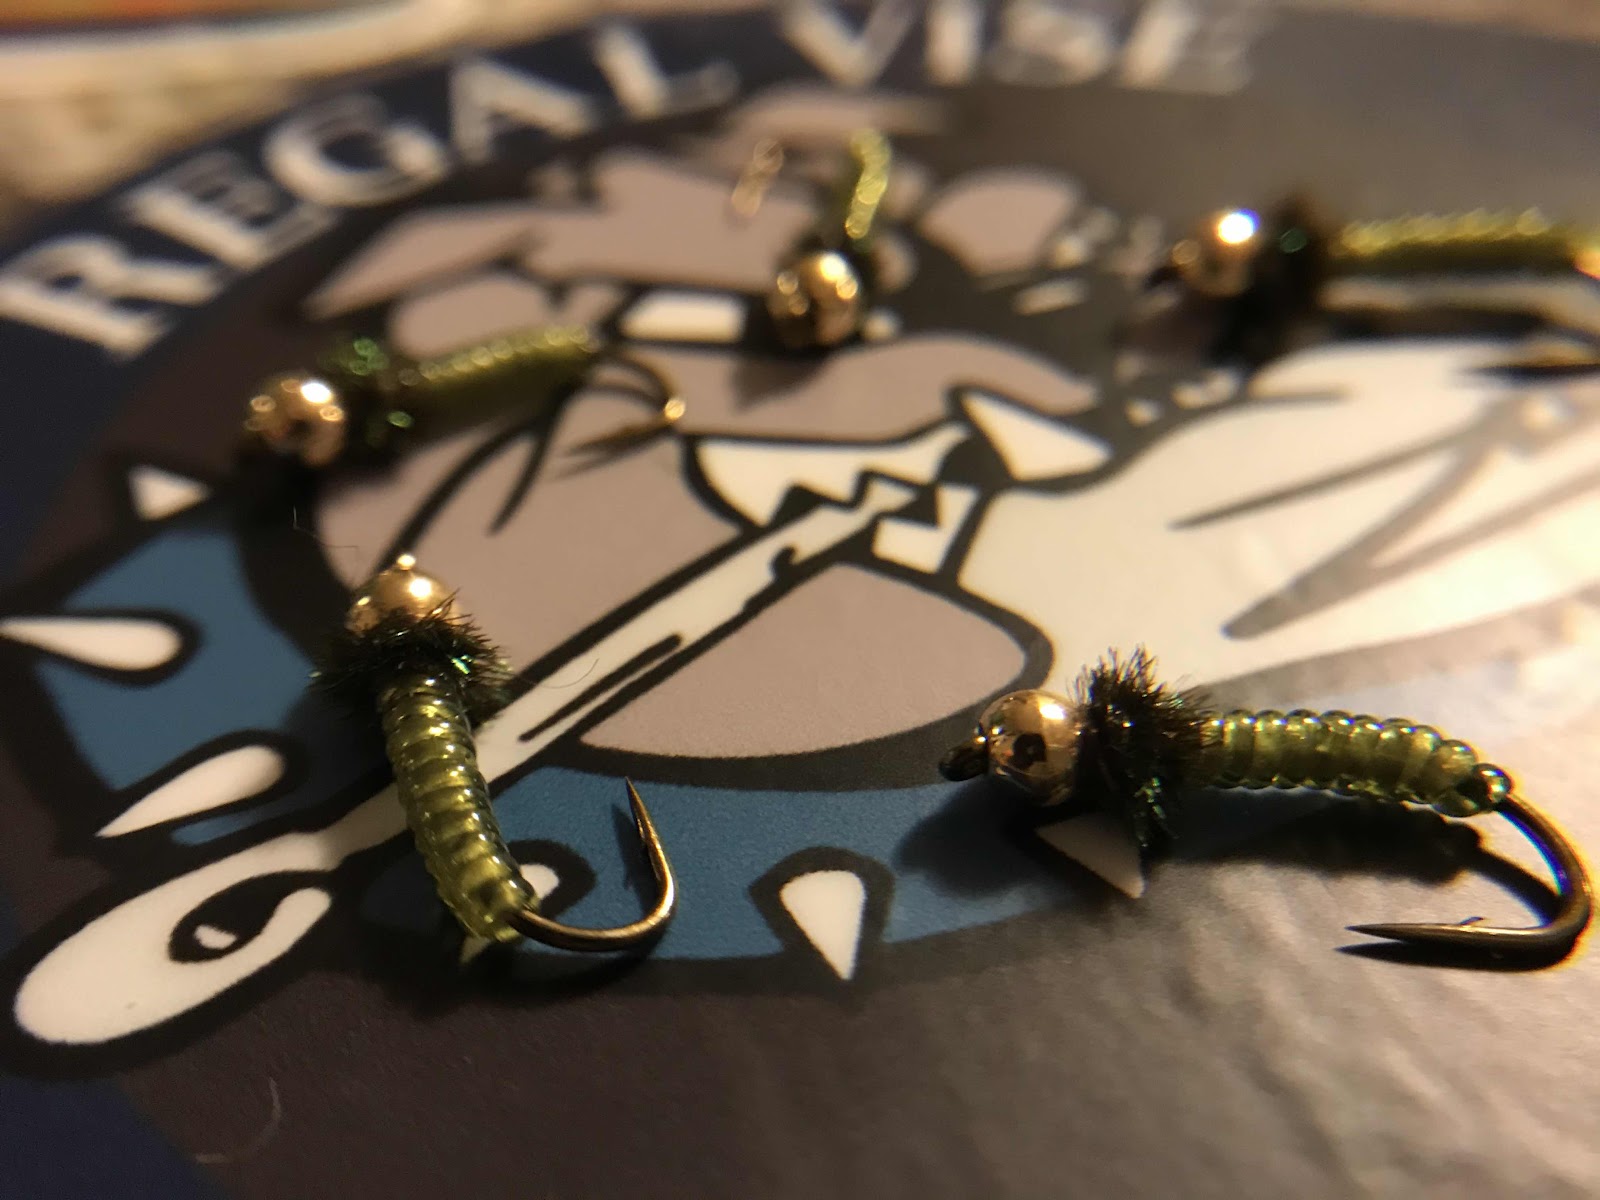
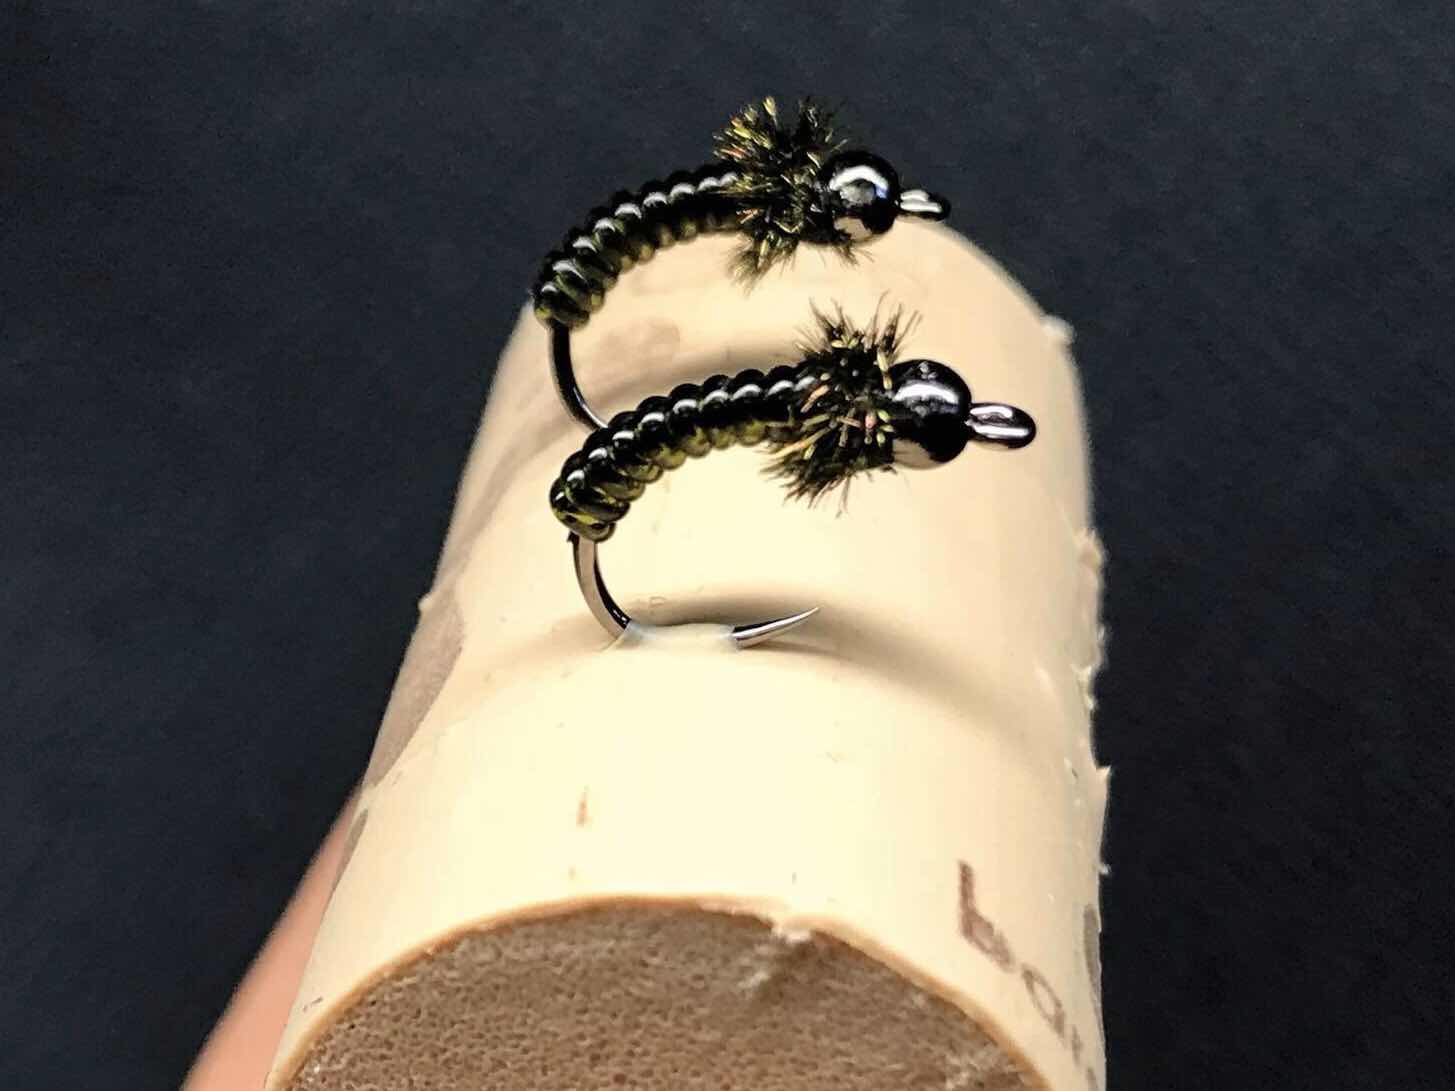
Here is an example of a box of flies I put together after years of practice and what you will be able to tie if you focus on fundamental tying processes.
The biggest issue is that new tyers want to tie flies.  I mean that is the point of fly tying right?  The thing that they fail to realize is that they need to stop looking at a fly not as a finished product, but a series of steps that are put together to create the finished product. I will never denounce that there is an "art" to tying flies, but I do not want to discourage anyone from tying flies that feels that they are not artistic enough to begin this hobby. Every fly ever created is comprised of a series of fundamental steps that are put together to create a finished pattern.  When a new fly tyer realizes this fact and focuses on their tying fundamentals they can truly grow. If the tyer only focuses on the finished product, they will inevitably waste a lot of materials and time that would be better suited learning the fundamentals of fly tying. 

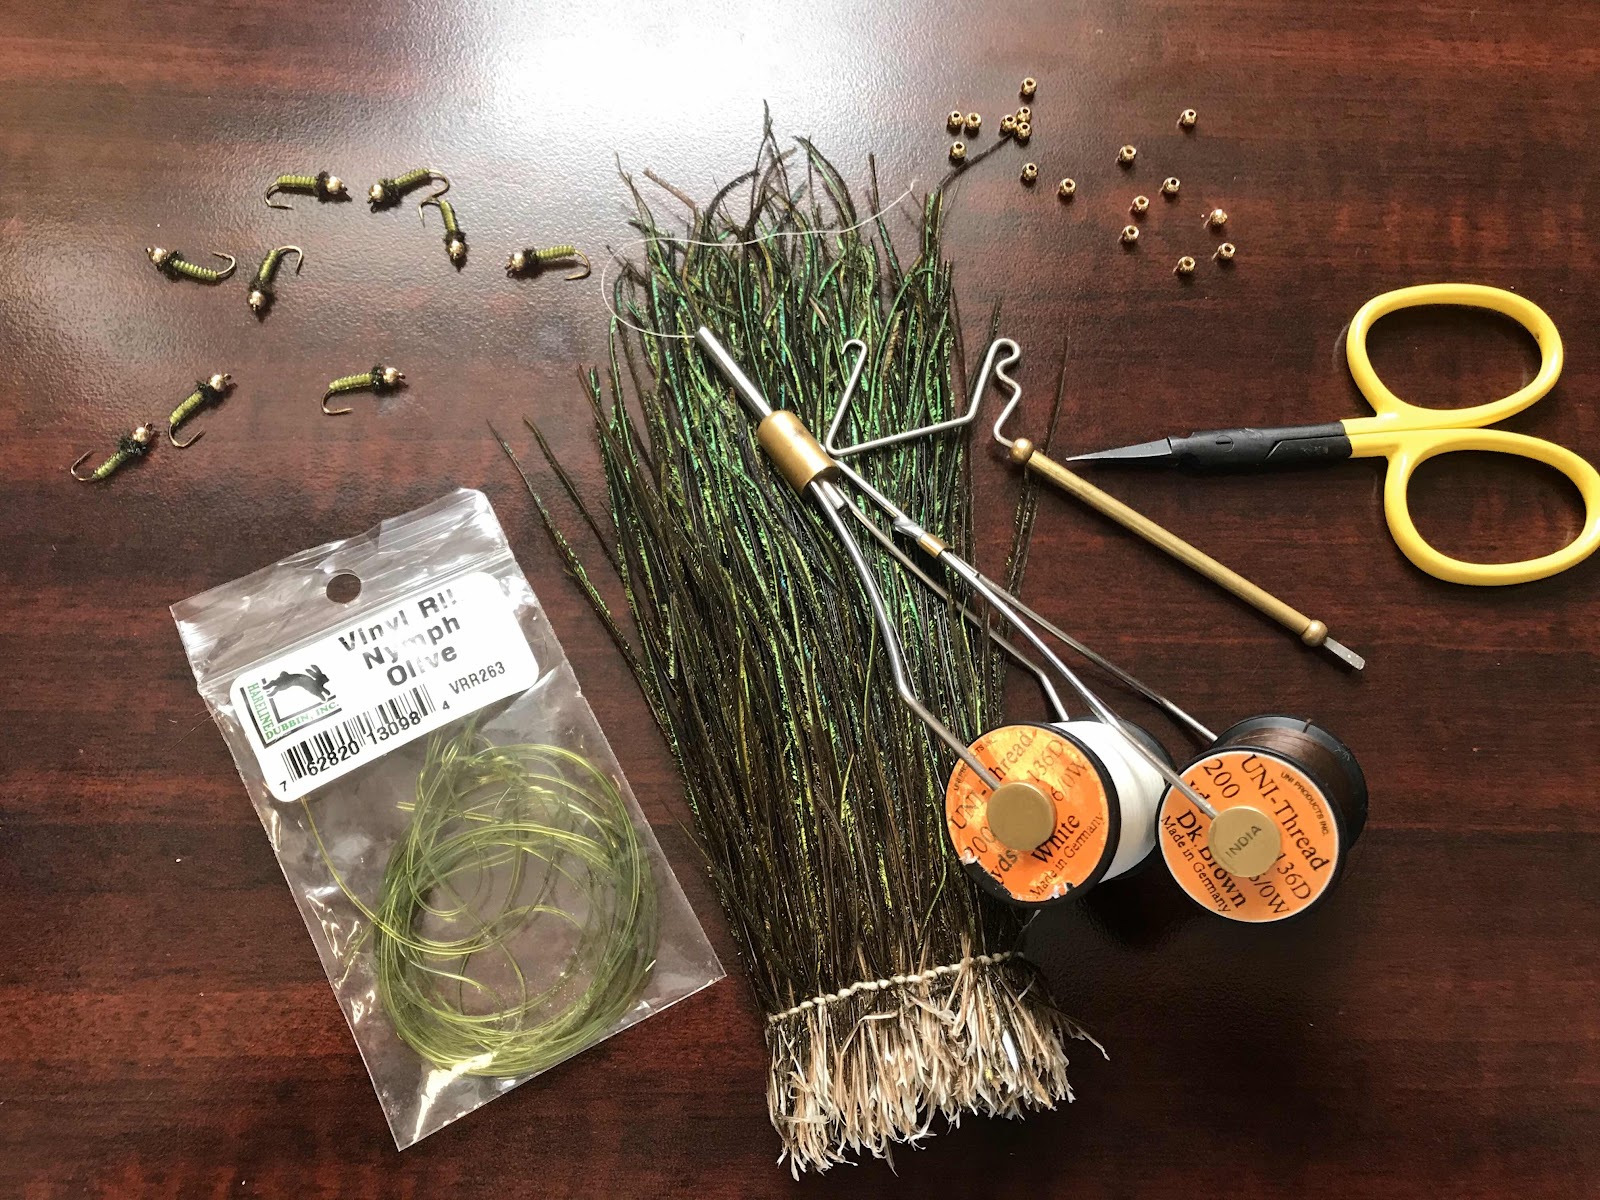
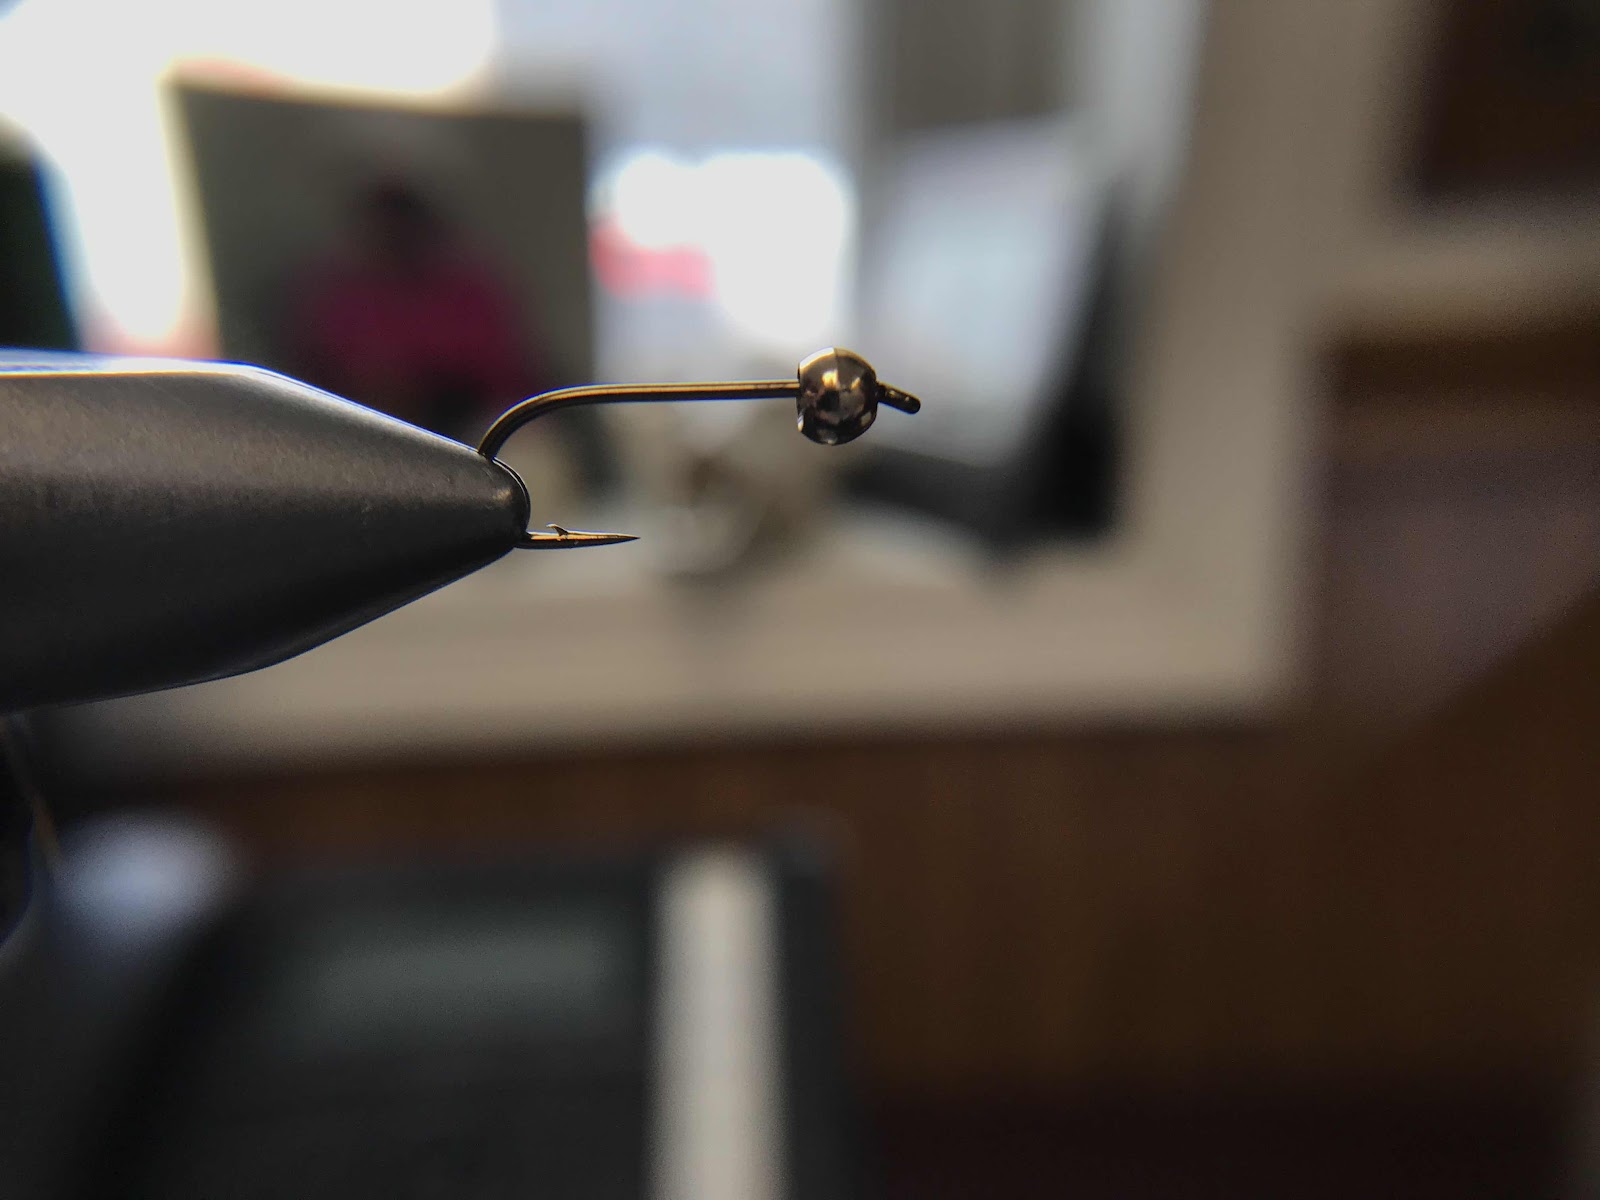
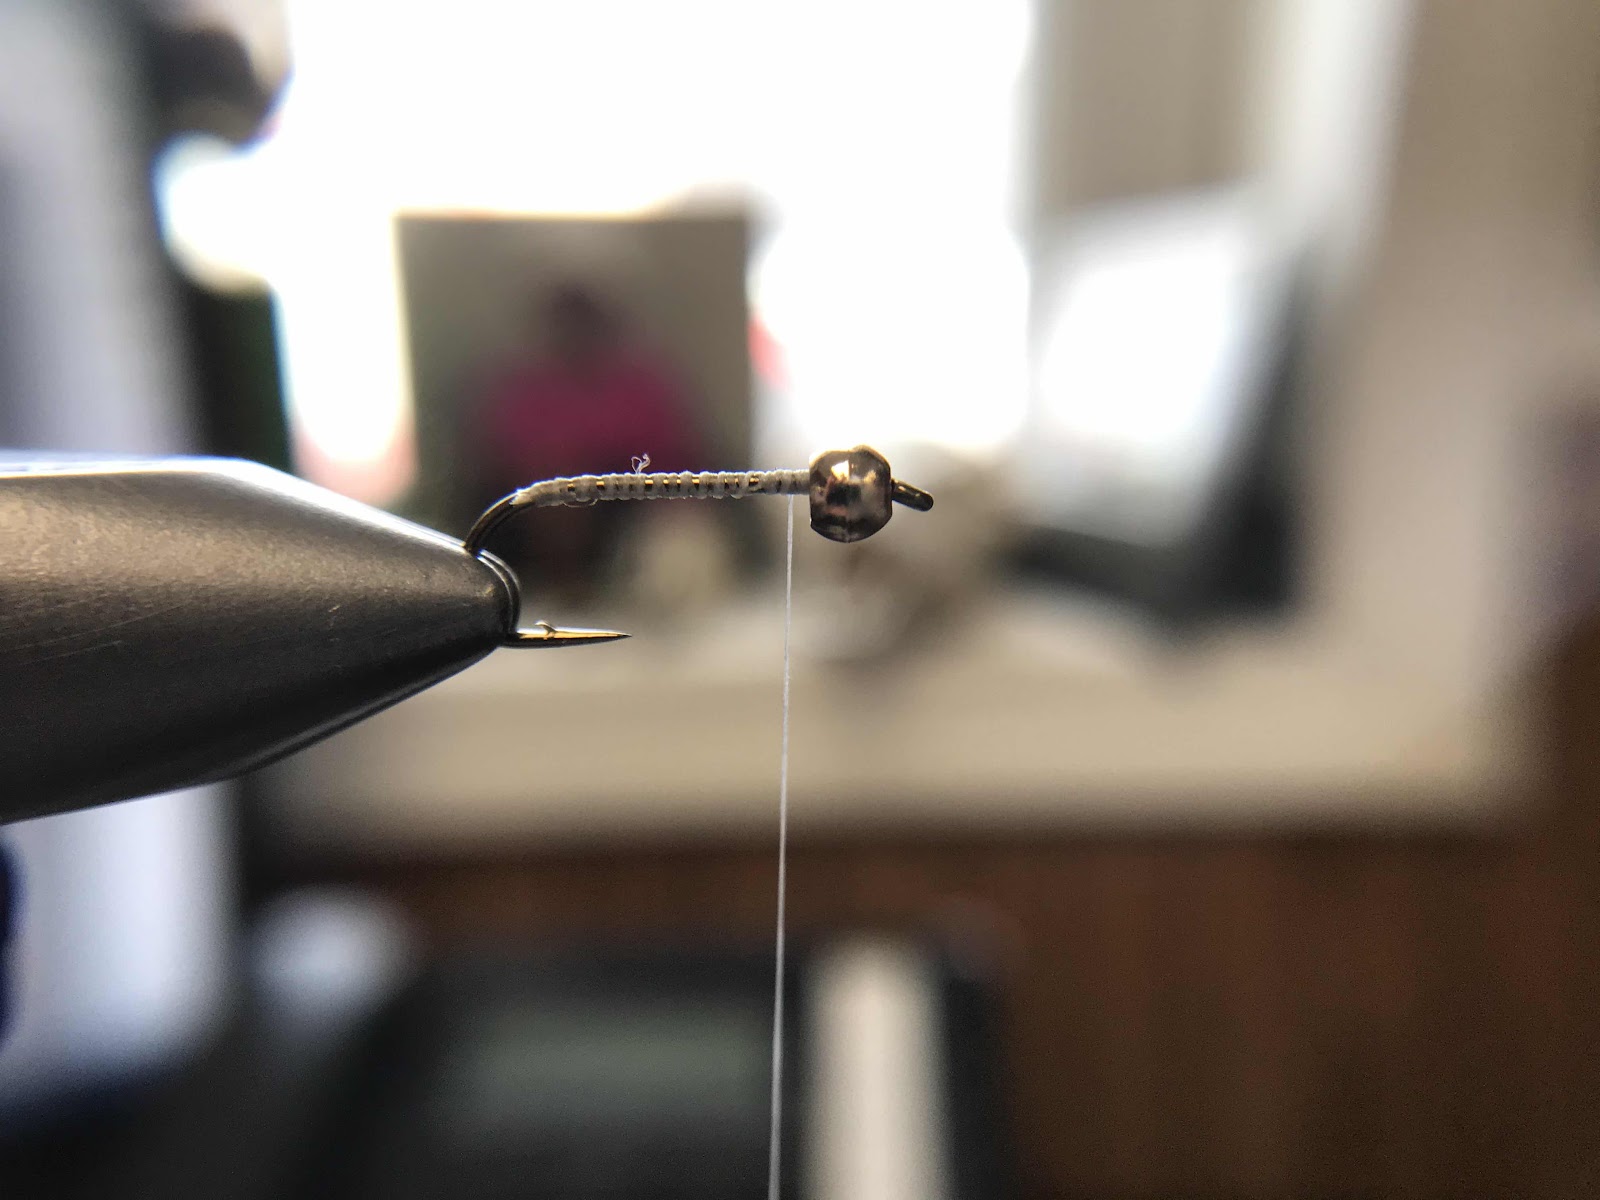
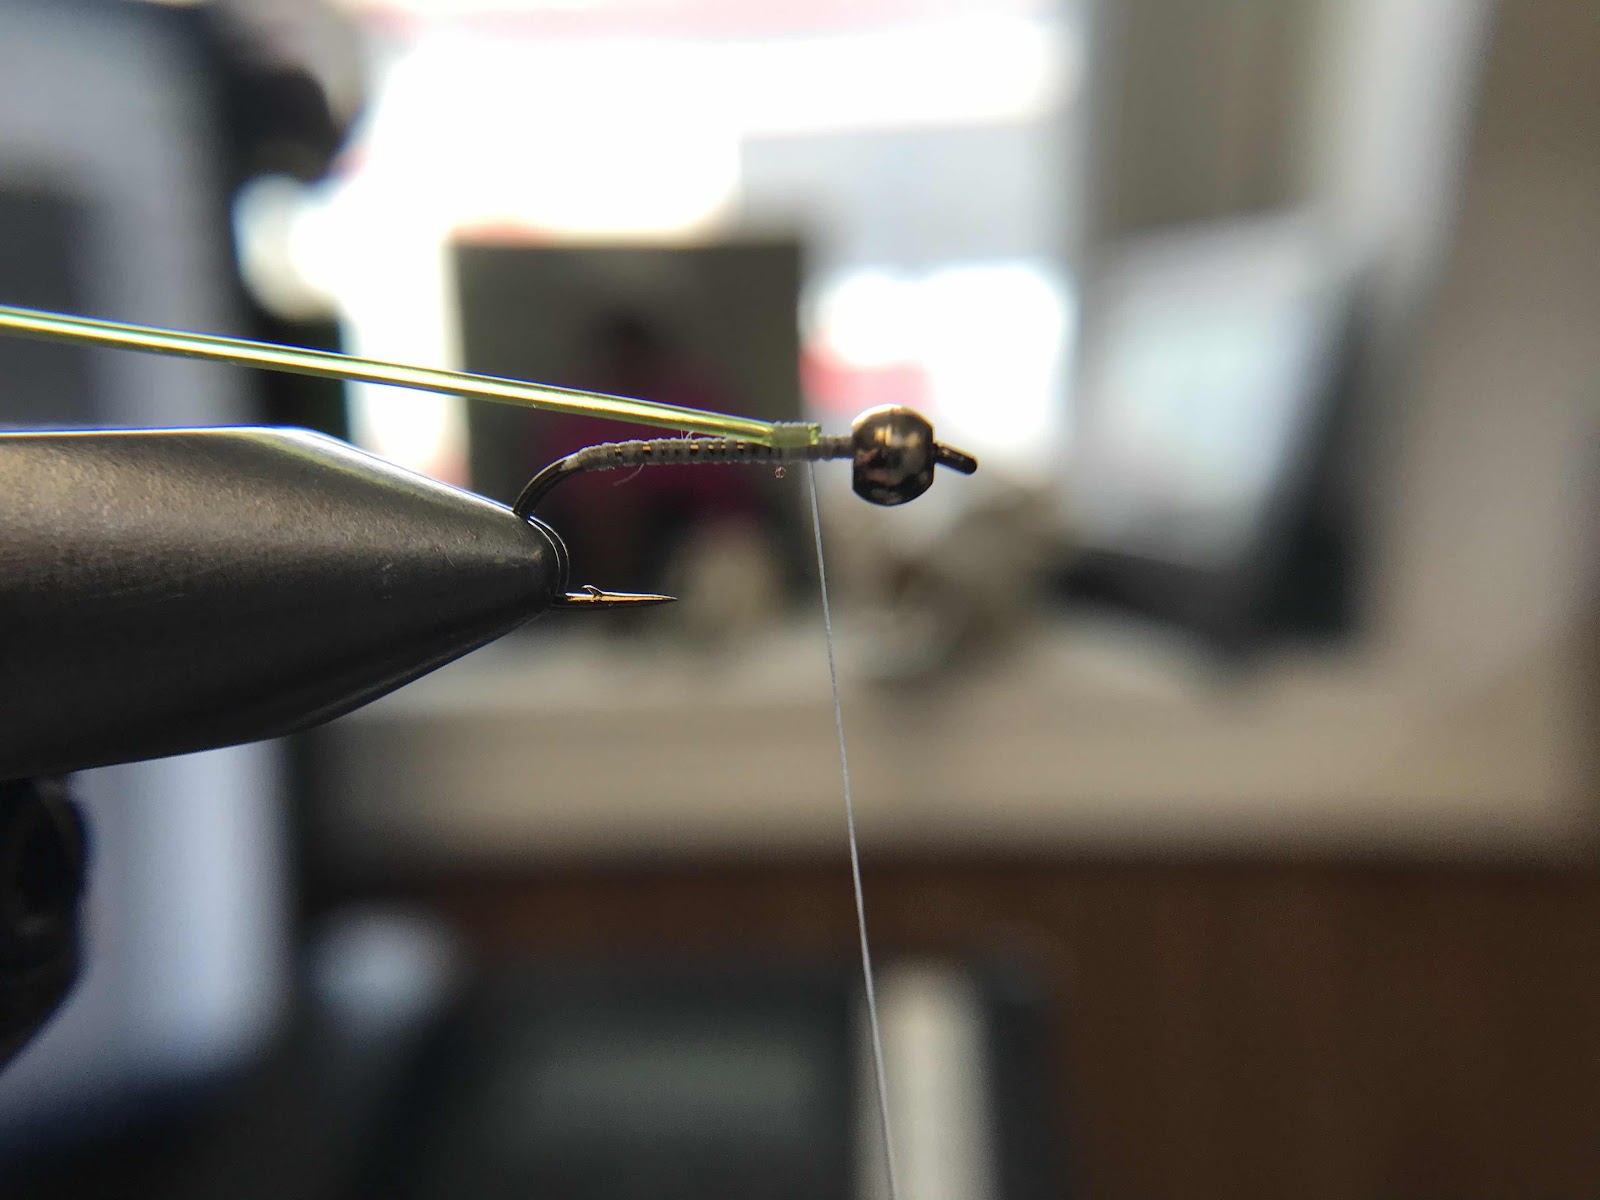
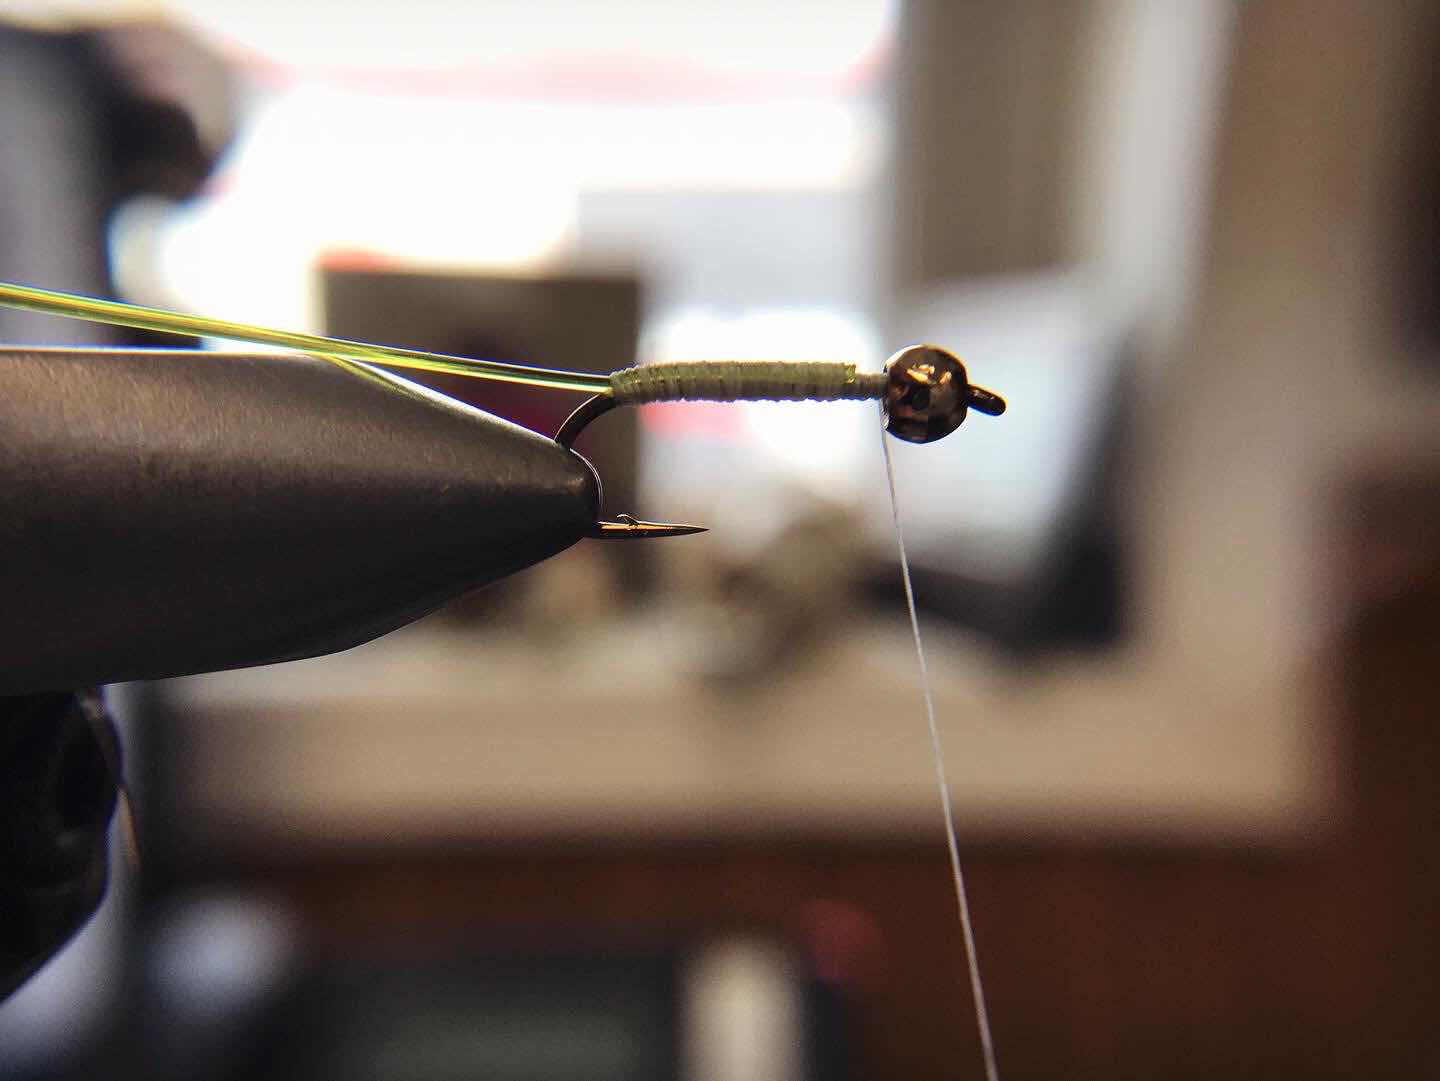
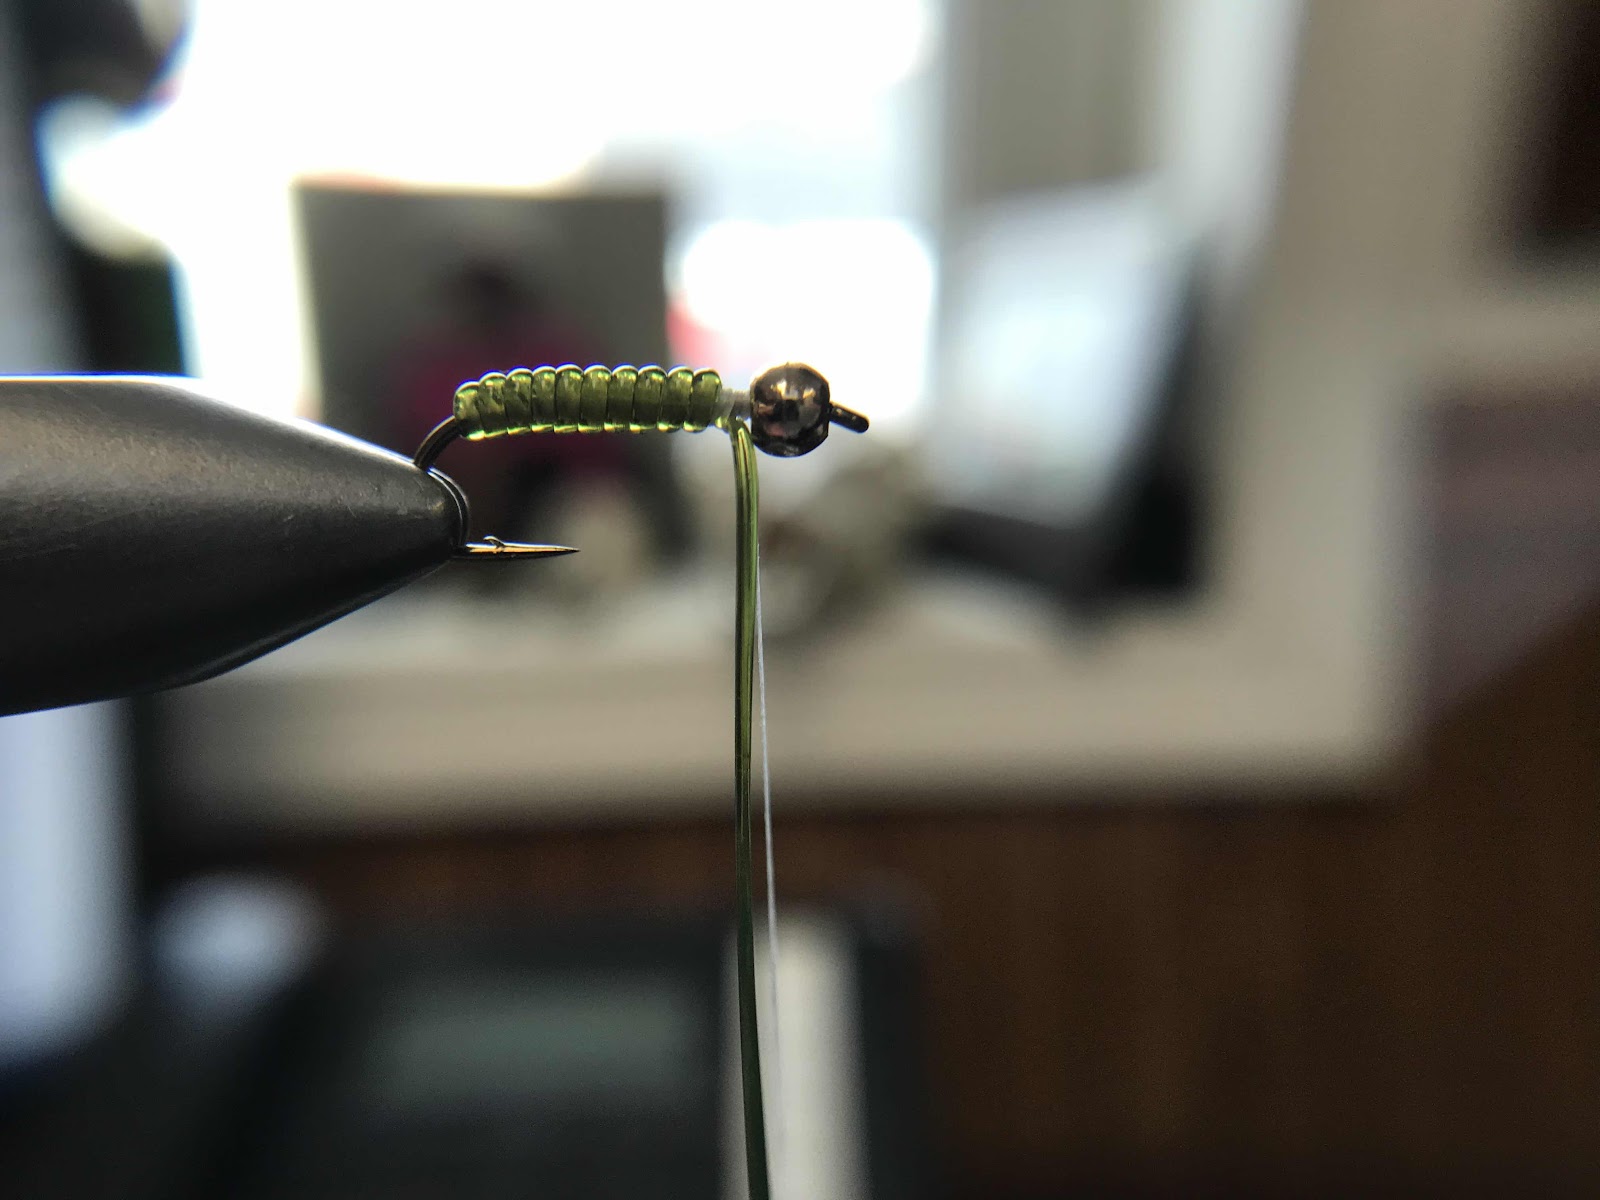
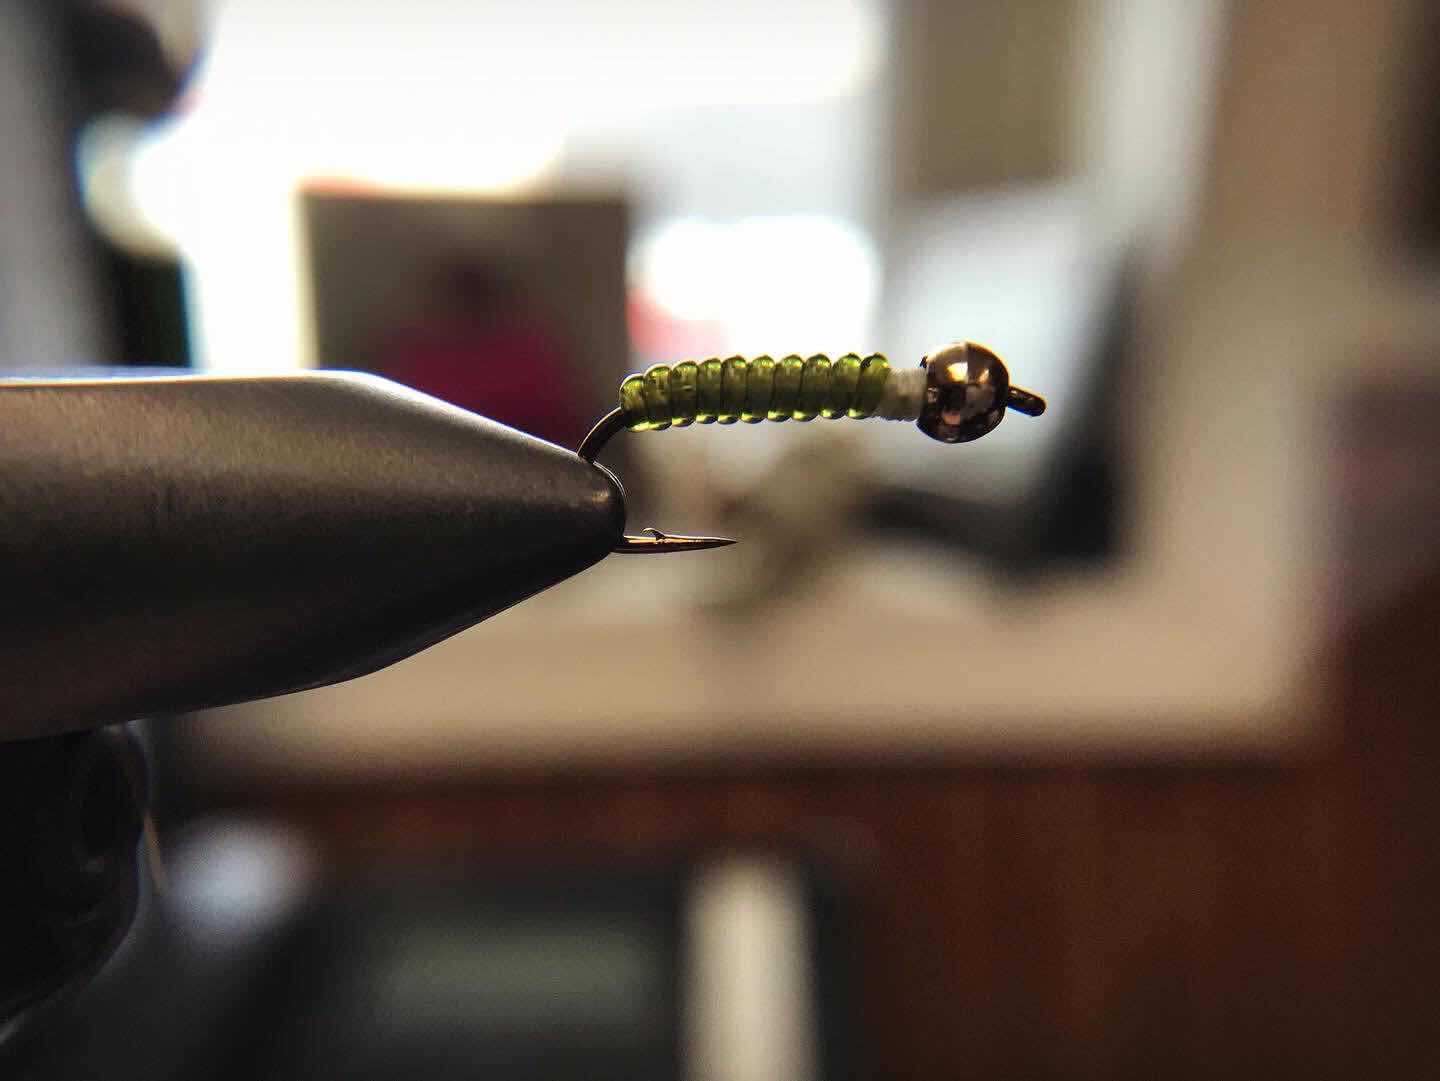
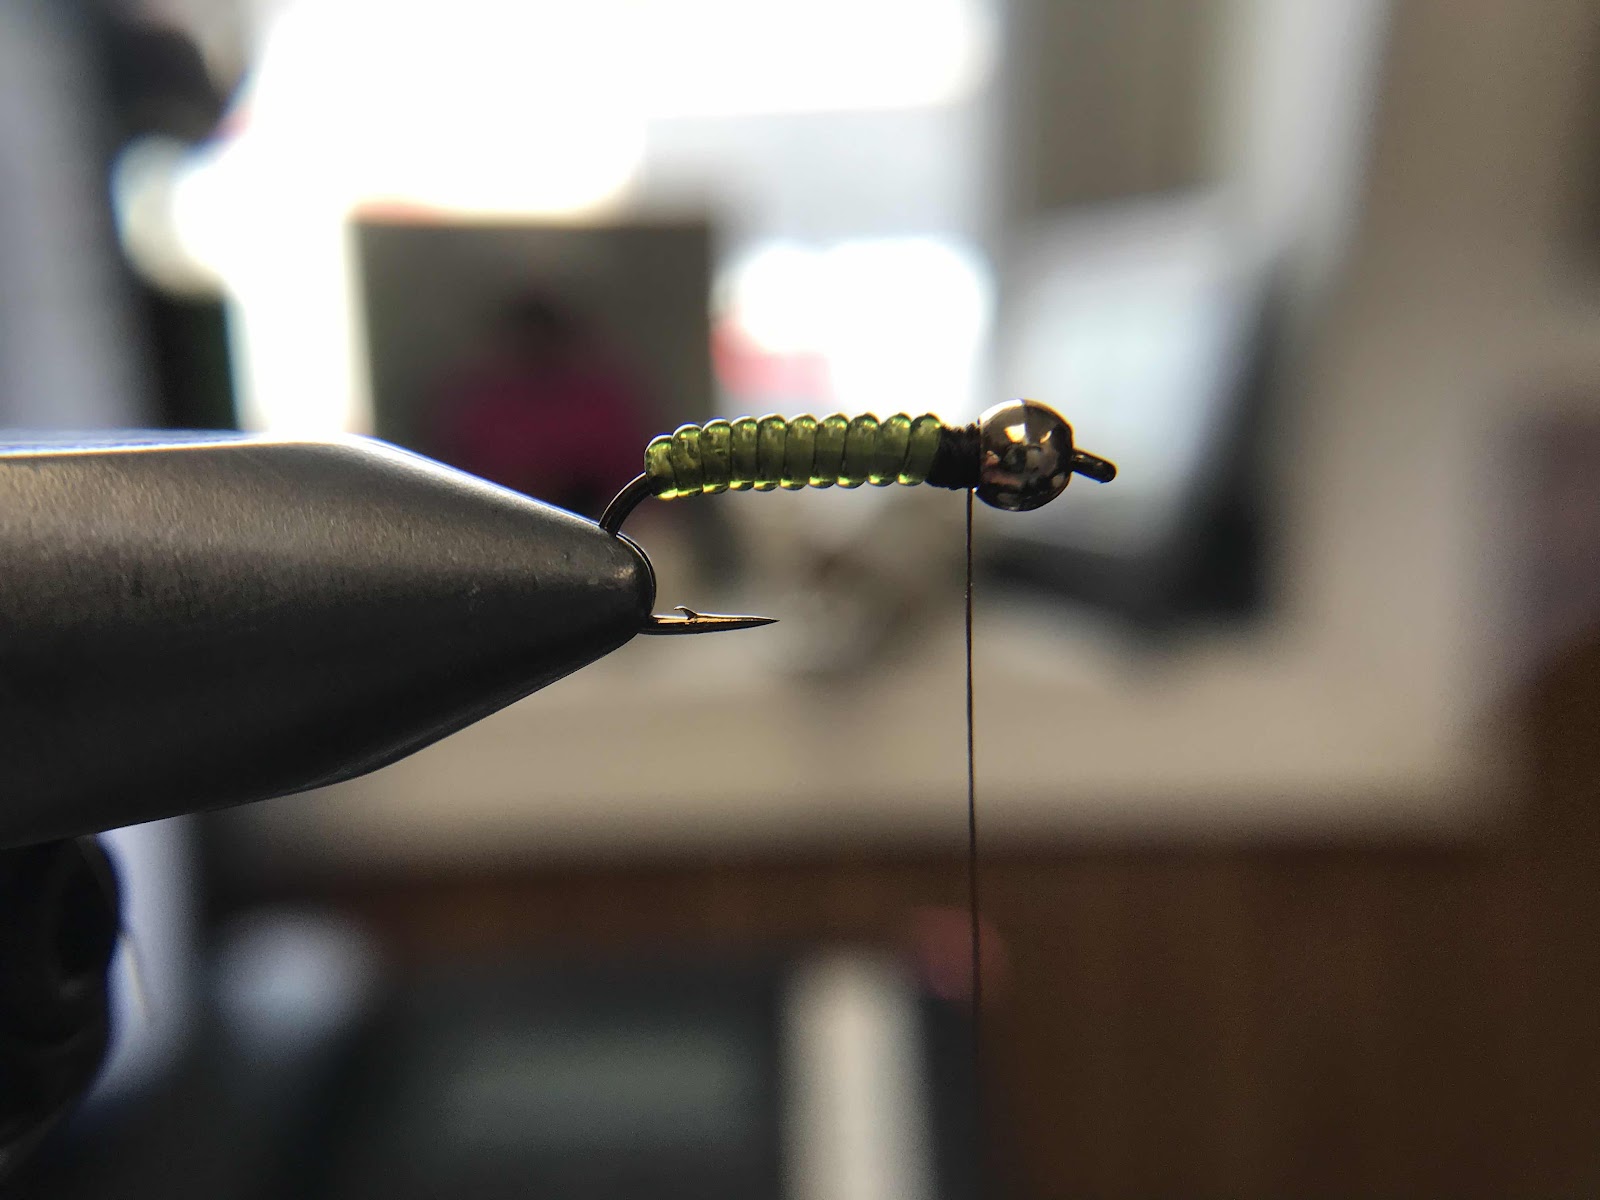
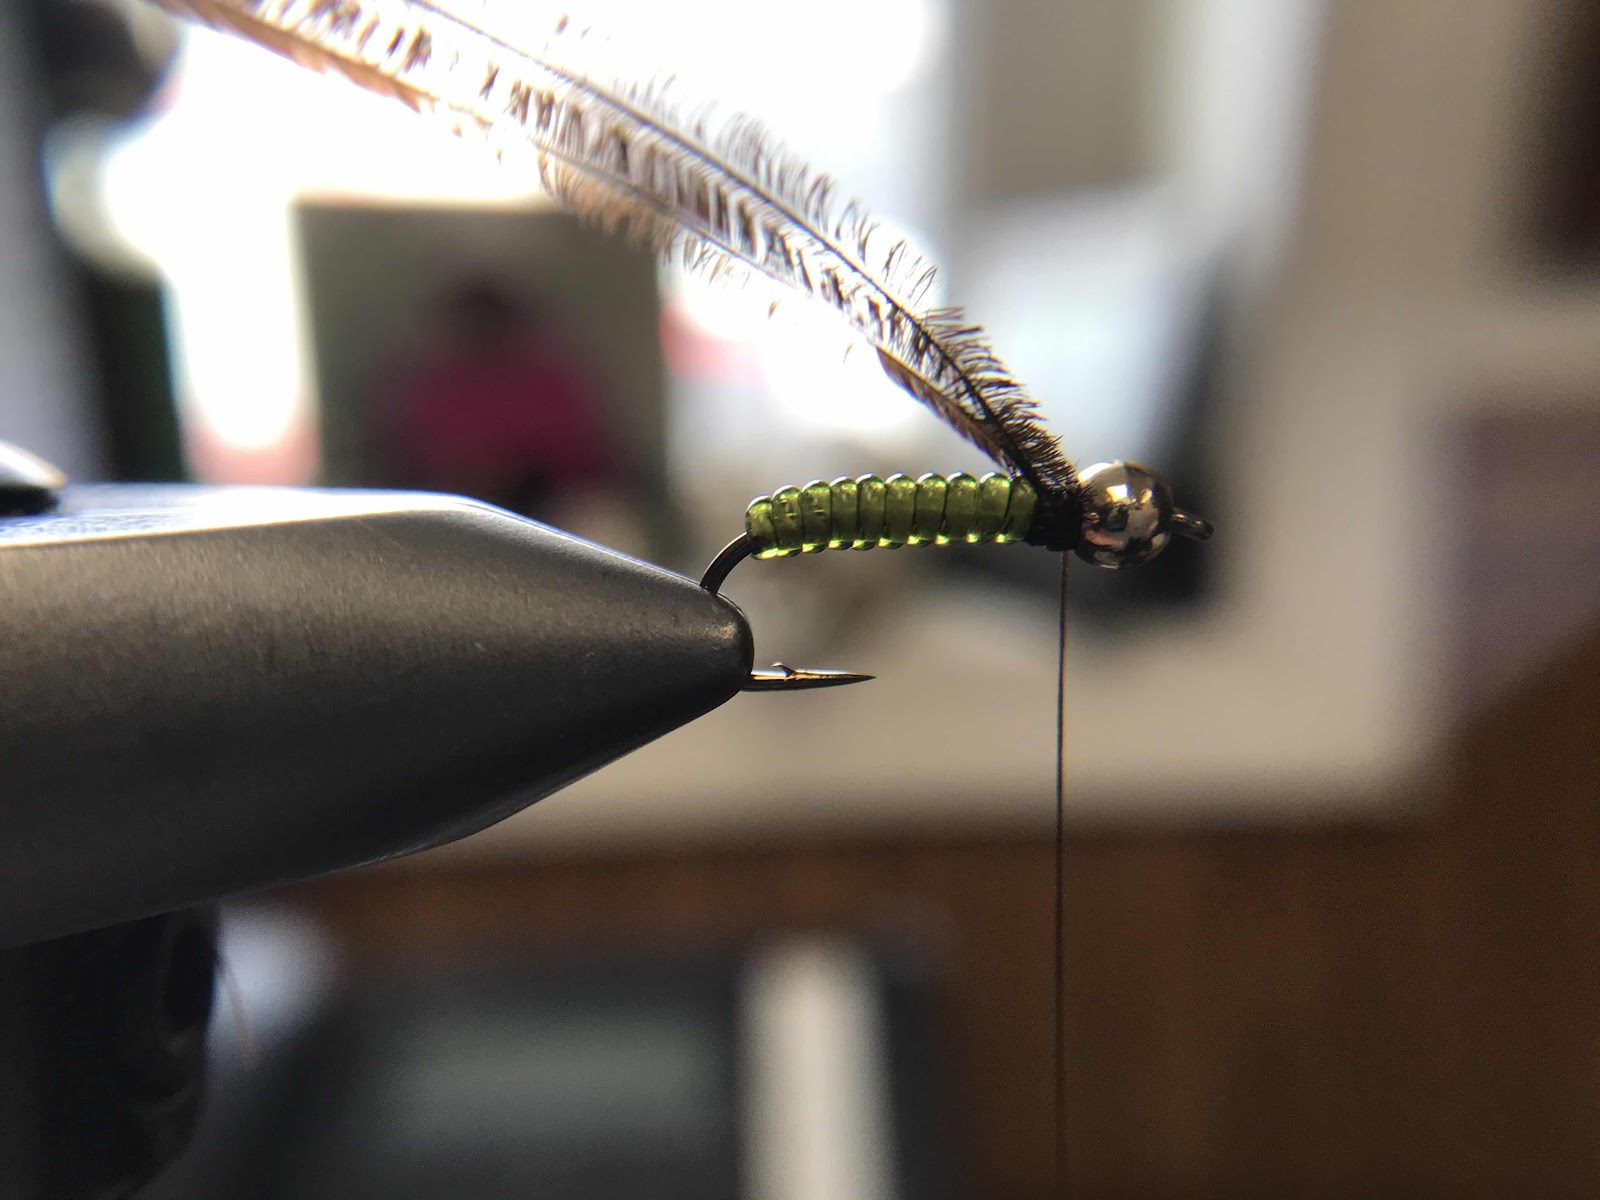
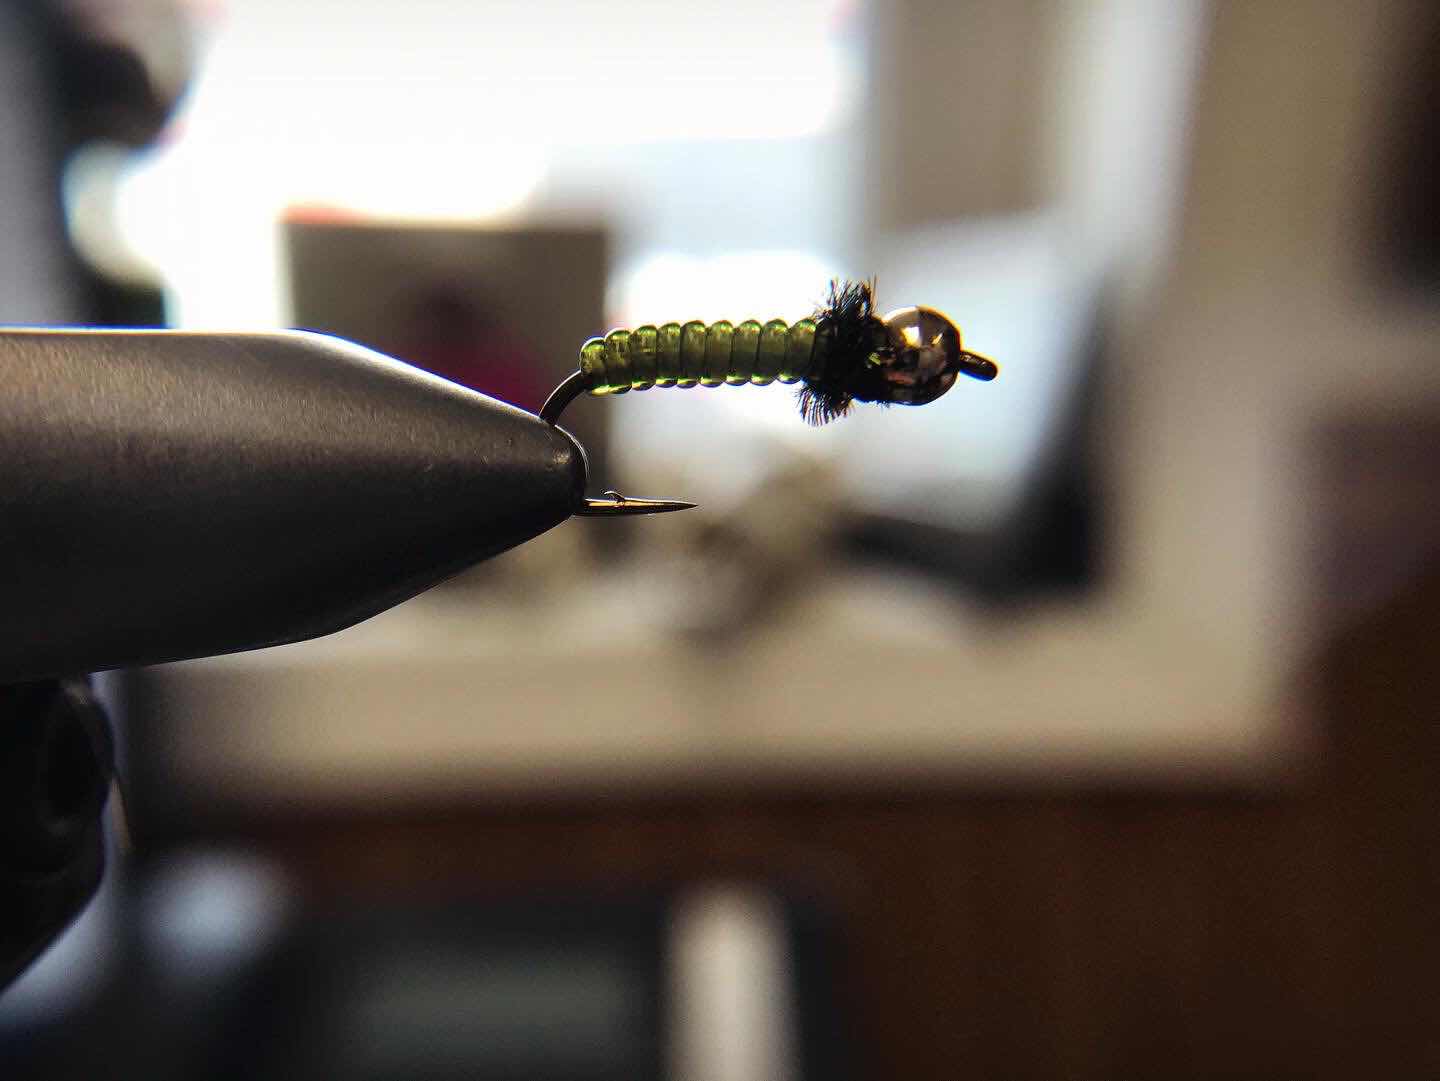
These hare's ear nymphs will be covered later on in the fly tying course. We will have built a solid foundation before proceeding to learn these advanced patterns.
Throughout this blog I will be creating an online fly tying course. I will be posting patterns that will aid in learning these fundamental processes through patterns that will catch them fish. These will be posted on the main blog, but I will also have a separate page named "Online Tying Courses" or something similar.  I will keep these in an easy to reference collection.  I encourage readers to follow the patterns that I will be setting up in order. This will help with making a very solid foundation, and then move up to the more advanced patterns that I will also be posting in future courses. 

I feel confident that if you follow my tutorials in order, you will be tying flies like the ones pictured above in no time. For now the tutorials will be in a step by step photo arrangement as seen in the caddis larva post. I am investing in some camera gear, and will be doing each pattern not only as a step by step photo tutorial, but also I will be doing video tutorials as well.


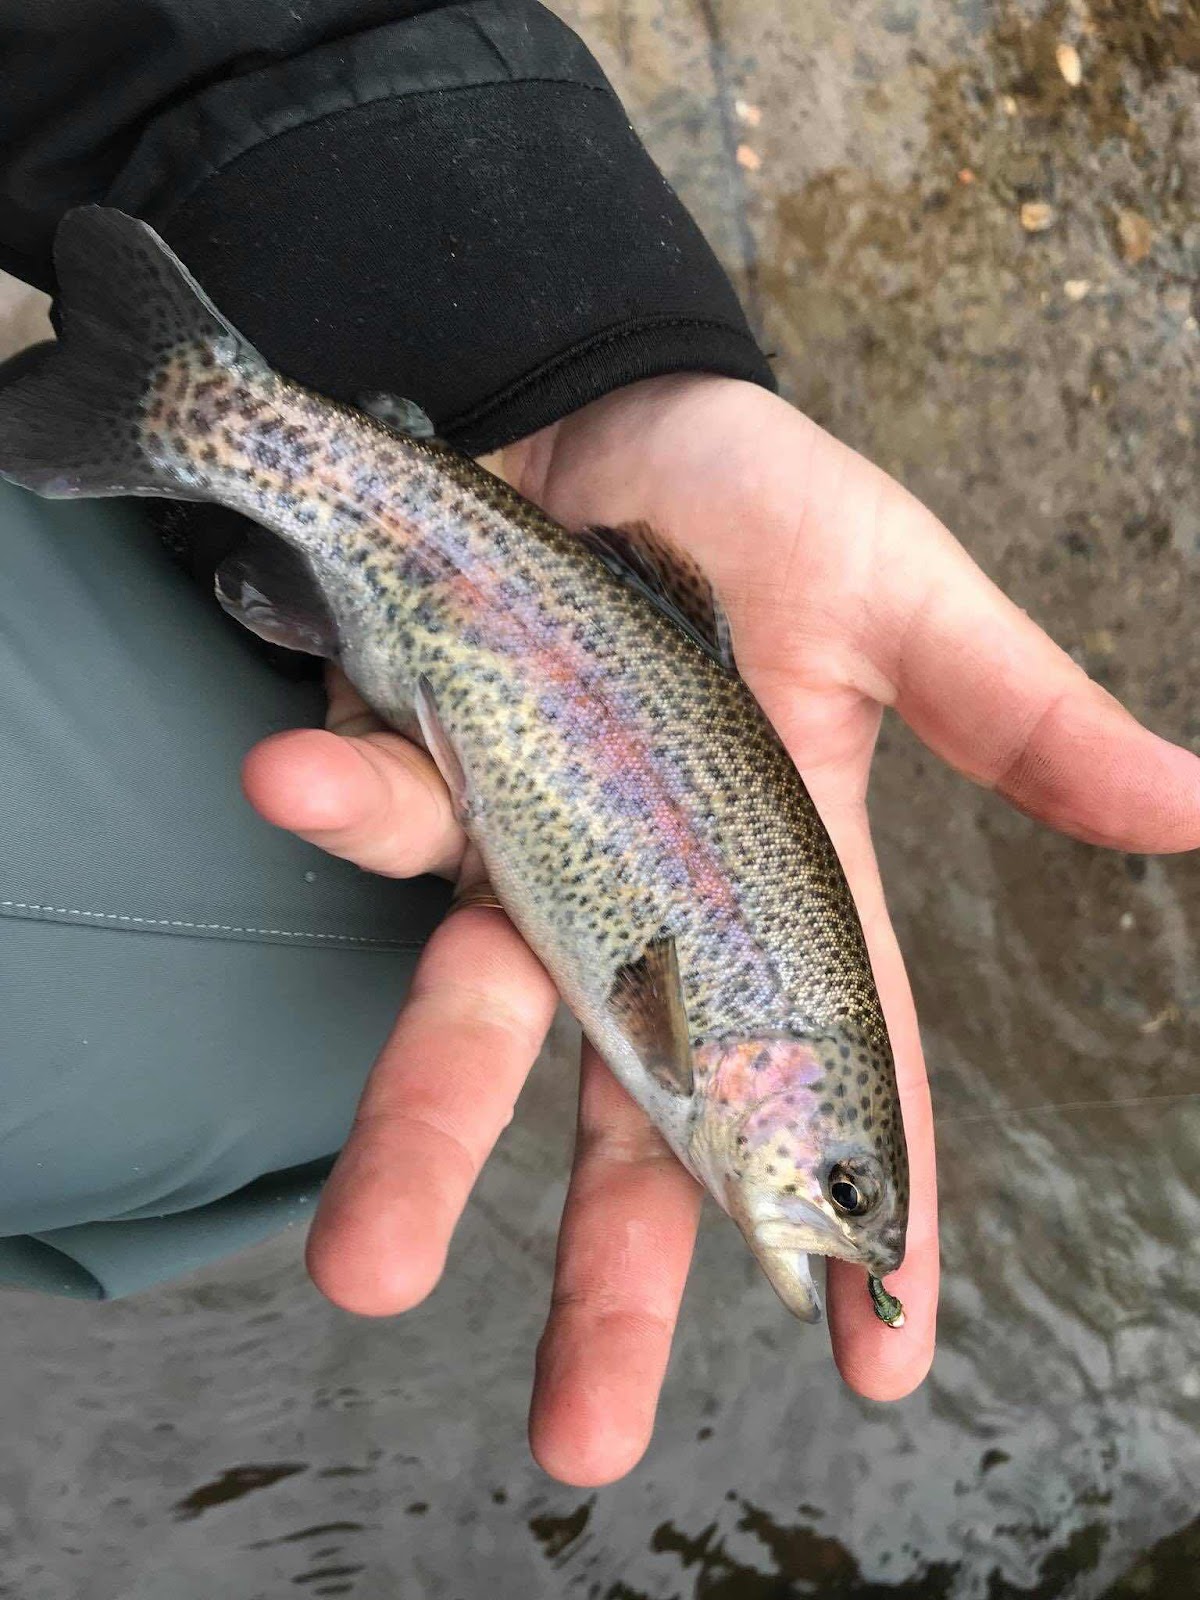
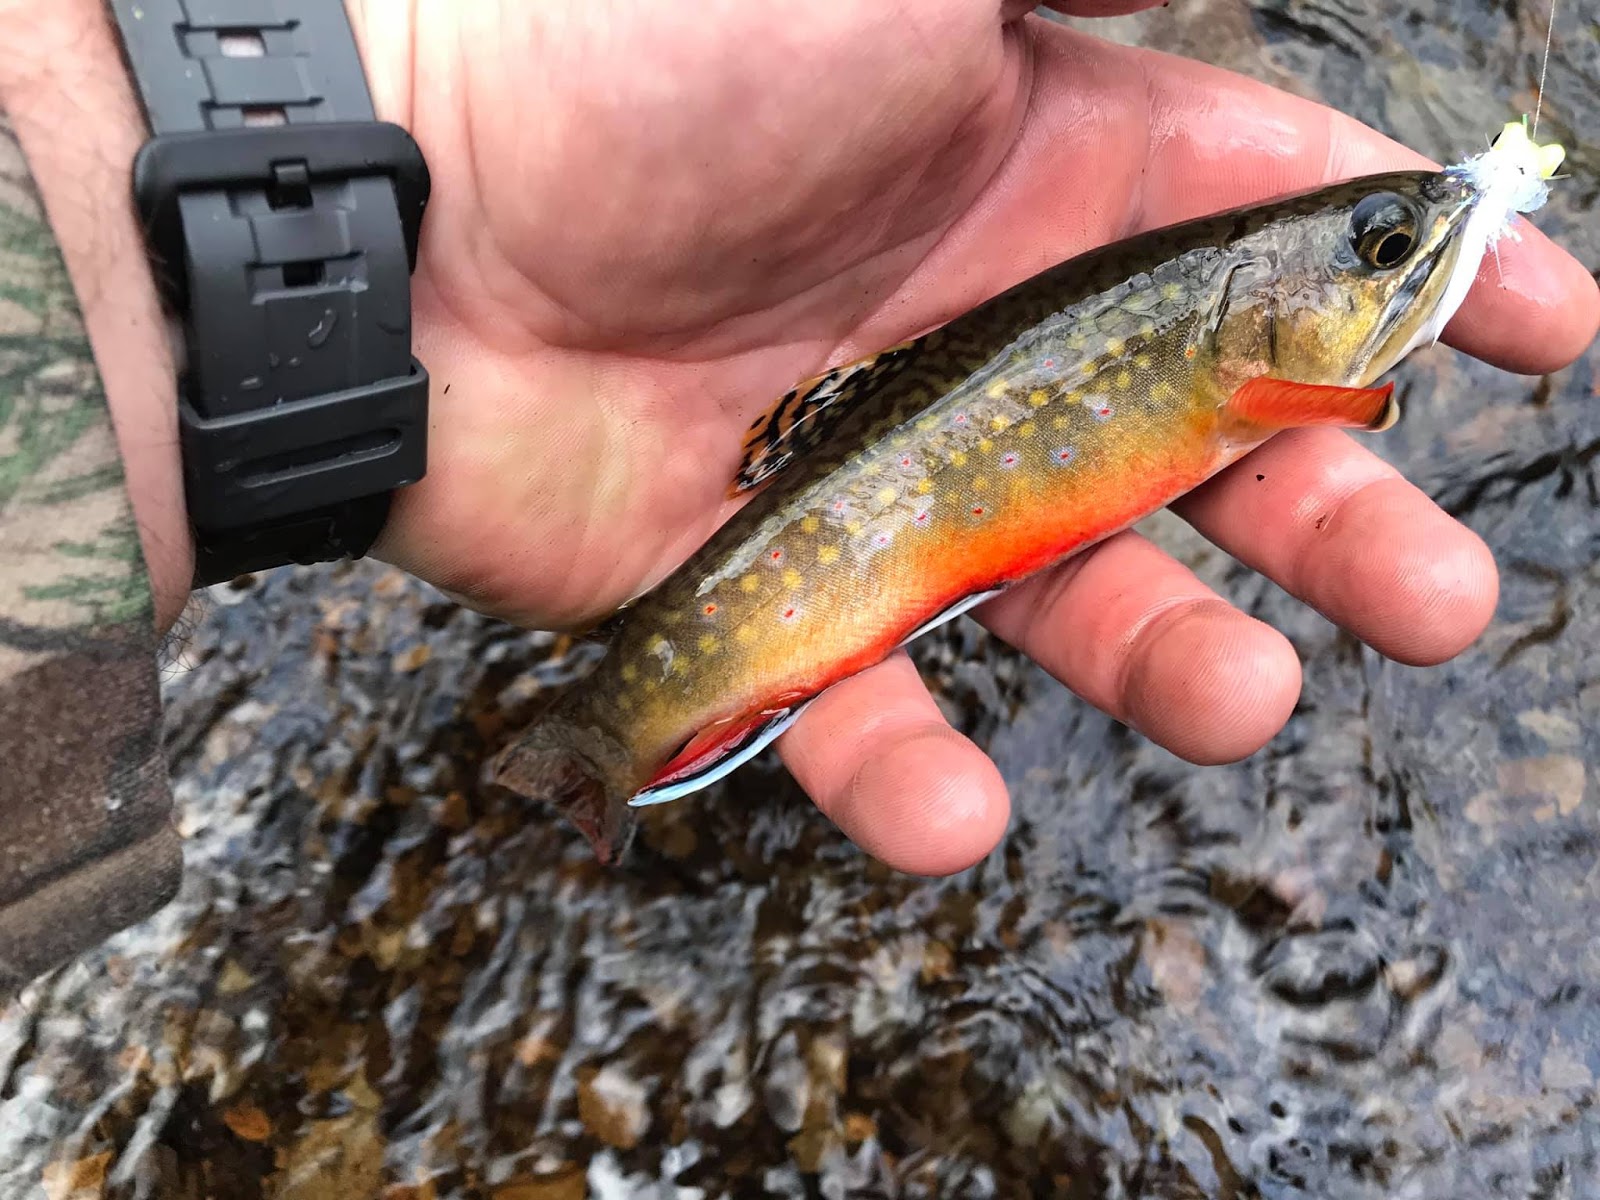
As you can see in the photo above I have greatly increased my skills since the early 2000's. I even upgraded my drink from chocolate milk to a beer. (although many may question if a Genny Light is any kind of upgrade). My point is I am trying to help you utilize your time, materials, and sanity as a beginning fly tyer. I want help you get started off on the right foot, so that in time you can take these fundamental processes and create your own patterns that are consistent, durable, and will land fish in your net.  I invite you to give my online fly tying courses a try and let me help you with your journey into fly tying.

Here is a link to the Fly Tyer Mike Podcast where I discuss this topic:

Fly Tyer Mike Podcast


Friday, January 24, 2020

How to tie a Caddis Larva Fly Tying Tutorial #1


It’s hard to find a more important insect in fresh water entomology than the caddis fly. Hundreds of different species occupy the streams, rivers, and lakes in North America alone. All stages of the caddis fly are targets for freshwater fish. Just about every species of fish will eat a caddis fly at some point in it’s life. I’ve even caught a chain pickerel, a member of the esox family that includes musky, on a peeping caddis (this pattern will be showcased in a later article). Simply put you want to have various caddis patterns in your fly box, or an entire box focused on the caddis fly life cycle.


I reside in an area with more trout streams than warm water habitats so much of my early tying was focused on trout.  One of the first flies that I really nailed in my youth of fly tying was the caddis larva. It’s a very simple pattern that you can never have too many of.  I could tie this fly consistently and by simply changing the underbody thread, bead color, or hook I would have a completely different looking fly.  Since caddis larva make up a large portion of a trouts diet, it was a no brainer to learn to mimic this stage of a caddis flies life cycle.  I could flip over any rock in a cold water stream in my area and find a caddis larva of something sort. I will be going over some of my other caddis patterns in later blog posts but let’s walk before we run.


I will be doing this tutorial using a straight shank hook as they are a hook I feel any beginning fly tyer would have. I tie caddis larva patterns on both straight and curved scud style hooks. Under the water caddis larva will often appear to have a “J” shape to them while drifting in the current if they are freed from under a rock. This is where the scud hook comes in handy. Also the wider gap of a scud helps with hook sets. The materials used in this pattern allows the fly to sink quickly and get into the strike zone fast. This is very important when nymphing.


You don’t need a lot of materials for tying this pattern. You can tie it from size 18-10 without many issues. I would recommend using size small vinyl ribbing in size 16–14, size nymph for size 14-12, and medium for anything larger than that. For beads I would suggest using a 2.4 mm bead for size 16-18, 2.8 or 3.0mm for size 12-14, and 3.3-3.8mm for anything larger. In my opinion the sweet spot for these flies in my area is a size 14. The recipe for this fly (AS SHOWN) is as follows:

HOOK: Size 12 Daiichi Standard Nymph Hook
BEAD: 2.8mm Gold Tungsten Bead
UNDERBODY THREAD: 6/0 white
VINYL RIBBING: Olive Vinyl Ribbing Size Nymph
FINISH THREAD: 6/0 Dark Brown
THORAX: (2) Peacock Herl Feathers

Let’s dive in and tie this easy but effective nymph. 


Step #1 Place the bead on the hook and clamp the hook in the vise.


Step #2 Thread the hook with the 6/0 white thread all the way to the hook bend and bring it back to just behind the bead. This layer of thread will help prevent the vinyl ribbing from sliding on the shank of the hook.


Step #3 Tie in the vinyl ribbing with a small gap behind the bead as shown. The gap is to leave room to tie in the thorax of the fly.


Step #4 Wrap the thread all the way to the hook bend and then back up to the end of the vinyl ribbing. Be sure to cover all of the vinyl ribbing with the white thread. By covering all of the vinyl ribbing with thread you will let the true olive green color of the vinyl ribbing show through.  Changing the underbody thread color can really change the tone of the vinyl ribbing. I will discuss other choices at the end of the tutorial.


Step#5 Wrap the vinyl ribbing over itself stopping at the gap. Secure the ribbing tightly at the beginning of the gap.


Step#6 Whip finish the white thread. The body of the fly is now finished.


Step#7 Thread the thorax area with 6/0 dark brown thread.


Step#8 Tie in and secure (2) peacock herl feathers. It is best to leave approximately 1/2” or so of tag. I do this because the quill of the feather is more durable further down the feather. If you tie the feather in where it is weak you will most likely break the quill while wrapping.


Step#9 Secure the peacock herl. I like to do a few wraps behind the herl feathers then pull them back and place two wraps in front of them. This will cause the thread to pinch down on the herl feathers and really secure them. 


Step#10 Whip finish the fly and cut the thread. You may apply a small dab of head cement if desired.

That’s it! That is all there is to this pattern. I’ve caught hundreds of trout as well as other species of freshwater fish on this pattern. This fly is what I would consider a confidence fly. It is simple for the beginning tyer to create and catch fish on, but will also have a home in your fly box for years to come.  The fast sinking nature of the fly combined with availability of caddis larva in streams make this pattern a must have in your fly box.


You can modify this pattern very easily as well. Popular ways I switch up this pattern is by switching the underbody thread color. Light tan, orange, and chartreuse are all colors I have had success with. One great aspect of using a bright color is that you won’t have to swap threads after completing the body and you get the attraction of a hotspot. I like to tie this pattern with a gold or copper bead as I like offsetting colors on my nymphs. For a more natural look use a black or brown bead. The last way that I modify this pattern is by using dubbing for the thorax in place of the peacock herl. I like to use peacock because it sinks fast and doesn’t cause a lot of drag on the fly.


In closing I feel that you can’t go wrong with this pattern. If you enjoyed this tutorial please leave a comment. If you have any requests for other patterns that I tie please leave a comment and let me know what patterns you like to see.

Wednesday, January 22, 2020

Introduction to the Fly Tyer Mike Blog


Welcome to the Fly Tyer Mike Blog. Through this blog, my podcast, social media platforms, and YouTube channel I hope to help you become a better fly angler. I am hoping to be able to use my skills and abilities to be able to help you tie better flies and catch more fish. I have been fly fishing and fly tying since the age of 16. I have targeted many species of fish on the fly, and continue to grow as a tyer and fly angler.  I am planning on creating a wealth of content through all these platforms, but writing is my favorite way to share my knowledge.  I feel I can influence the reader more through my words than an video.


I have plans to cover a wide range of topics under Fly Tyer Mike. Fly tying tutorials, fishing techniques, reading water, and locating wild trout are all on the list of topics that I will be covering. I would also like to incorporate some posts solely to answering my followers questions. I want Fly Tyer Mike to be a one stop shop for new anglers and tyers, as well as a place for the seasoned fly angler to learn a few things. One of the greatest aspects about fly fishing is that there is always something new to learn. You can become very proficient at one skill set, then shift your focus to a new skill to try and master. You can also become a great trout fisherman, then target another species. You may get bored of tying nymphs and move onto streamers, dry flies, or even musky flies. The possibilities for learning never really end.


I also hope to help raise awareness about the value of wild and native fish species that out waters provide. It is no secrete that I am addicted to these fish, especially native brook trout. The colors of a brook trout are very hard to beat. I want to show my readers that there are wild fish, all across our country, that some may not even be aware of. I want to promote a sense of adventure and want to influence others to get off of the beaten path. I want to help my audience break free from their normal way of fishing and try new things. I want them to build a foundation of fundamentals with fly tying and fly fishing and grow.


I want to invite you to join me in this journey and help me grow as an influencer. I want to hear about your successes and struggles you are facing in your journey of fly fishing. I can only hope that my blog posts and other avenues can accomplish these goals I have placed upon myself to help you become a better fly tyer and fly angler. I will do my best to provide highly educational posts along with a great podcast and YouTube channel for you to reference. Every word that I type within this blog will be from first hand experience, unless other wise noted, or taken from an interview. Every product I may review will be put through a gauntlet of testing before I put my "Stamp of Approval" on it. Every hook and other materials you see in my tying tutorials will have been tested and tried and true. I will also only post tutorials on flies that I have a lot of success with. I want to convey message to my audience that they will relate to and will not stride away from that.

Thank you for reading my introduction and I hope that you find my insights to be very helpful in your quest for knowledge.


Mike

Here is a link to my podcast that relates to this article.

Fly Tyer Mike Podcast "Who is Fly Tyer Mike"